Easter Egg Basket Tutorial

You will need:
From outer fabric: 1 x 8" square (Flowerfields Multi http://www.fabric-yard.co.uk/flower-fields-multi.html)
From lining fabric: 1 x 8" square (Snapshots Hearts Multi http://www.fabric-yard.co.uk/snapshots-hearts-multi.html)
From sew-in vilene or wadding: 1 x 7.5" square
2 pieces of ribbon each approx. 8" long
Assume 1/4" seams unless advised otherwise.
Method:
1. Spray baste the vilene/wadding onto the wrong side of the outer fabric and quilt if desired.

2. Machine tack the ribbons onto opposite corners of the outer square, right sides together, as shown.

3. Pin the lining right sides together with the outer square. Sew around all 4 sides, leave a 2" gap in the centre of one of the sides.


4. Turn right sides out and press. Sew an edging seam around all four sides, close to the edge and closing up the turning gap as you go.


5. On the lining side, mark 2.5" lines vertically and horizontally to create a grid. Sew on these lines.


(These next steps, to step 8 are optional and give extra structure to the basket.)
6. Fold one edge of the basket along the grid line, right sides together, pin and sew 1/8" seam from the top, tapering to a point when you get to the bottom of that first square section (like a dart).


7. Repeat step 6 to create 8 darts in total in all four sides.


8. Bring 2 opposite corners together and hand stitch to hold.

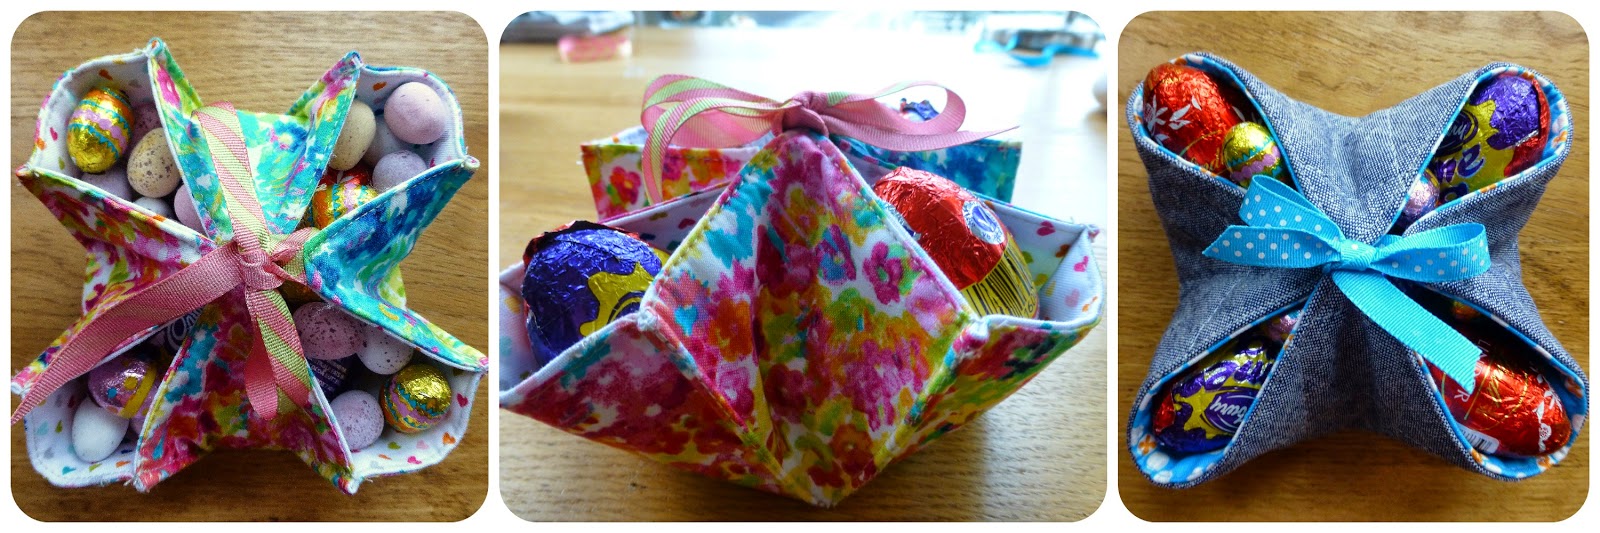
9. Next bring together the 2 ribbons, pass under the joined corners and tie at the top.


10. Fill with Easter eggs!


And why not make bigger baskets using a 10" square, or smaller ones with a 6" square!
Have fun & happy Easter!
Jude xo