
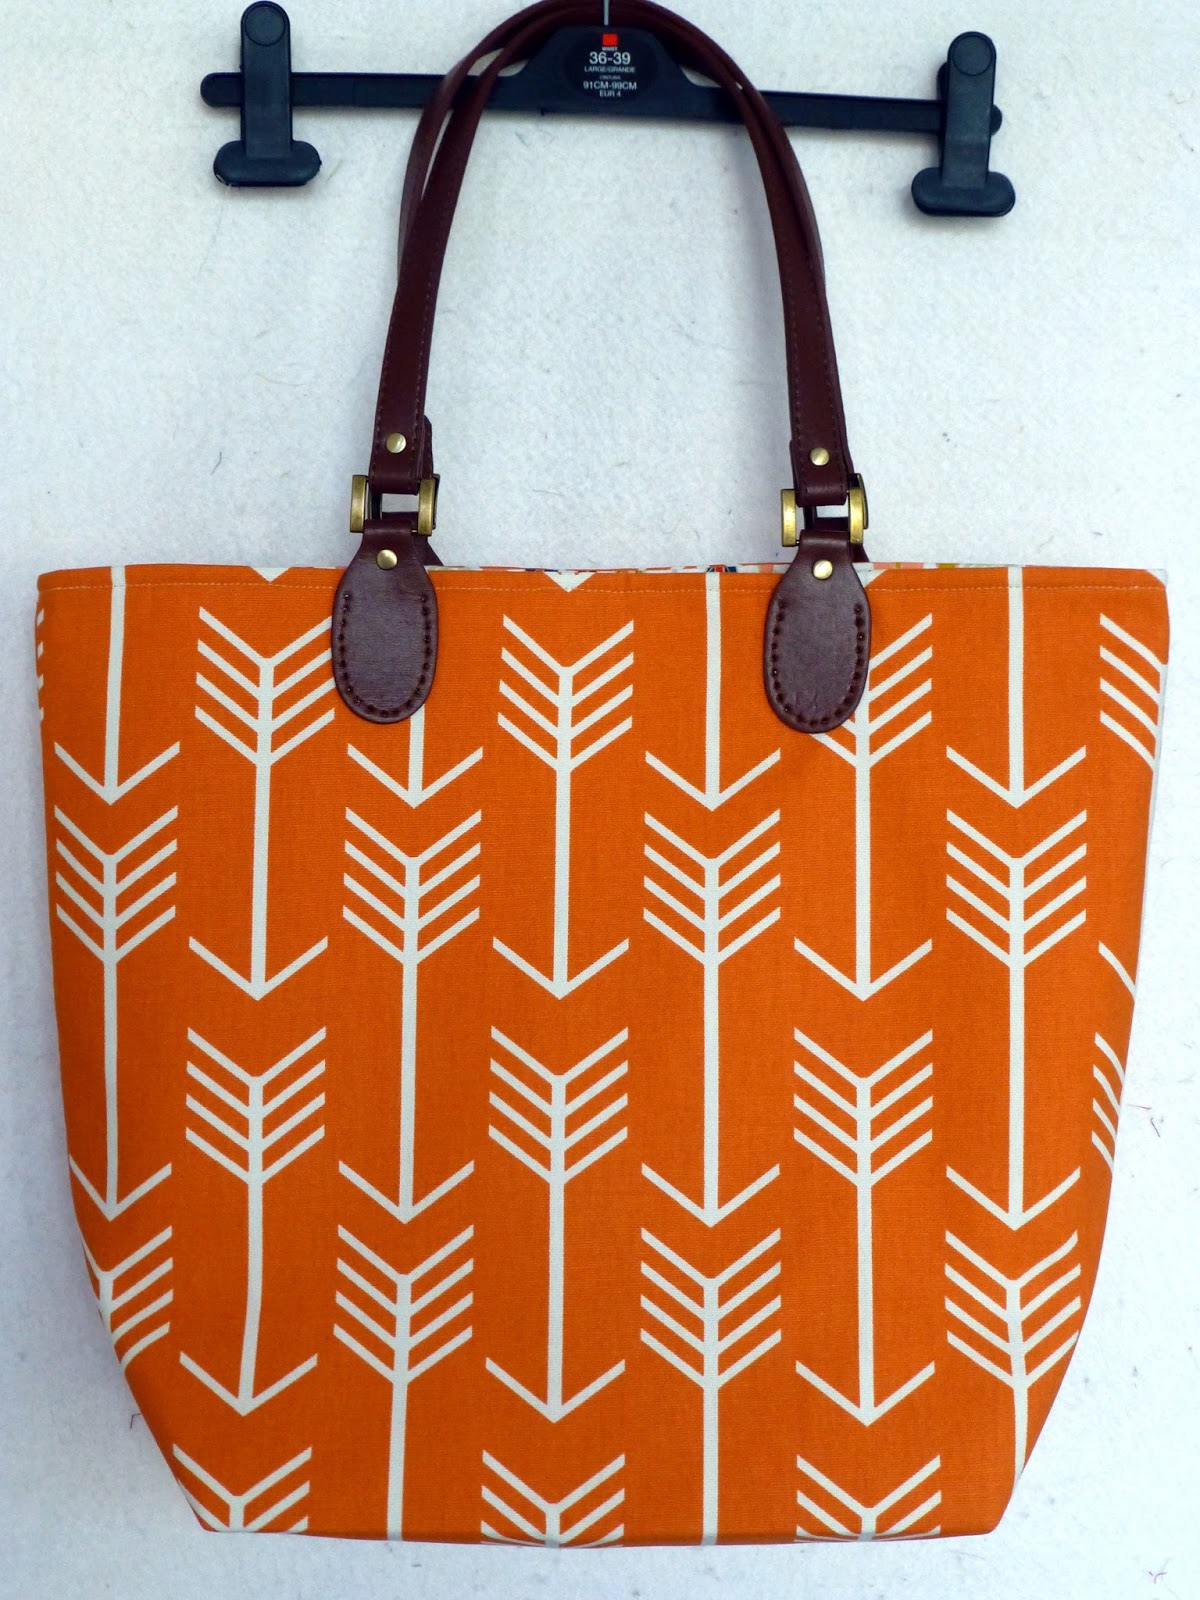
I love all the tutorials that Judith creates for Fabric Yard, but I think this may be my favourite yet. Using one of my favourite fabrics, and our new range of colourful bag handles, Judith has created this useful, versatile tote bag that will stand up to daily use. Alice x
Apache Tote Bag:
Approx. 17" x 14" (not incl. handles)
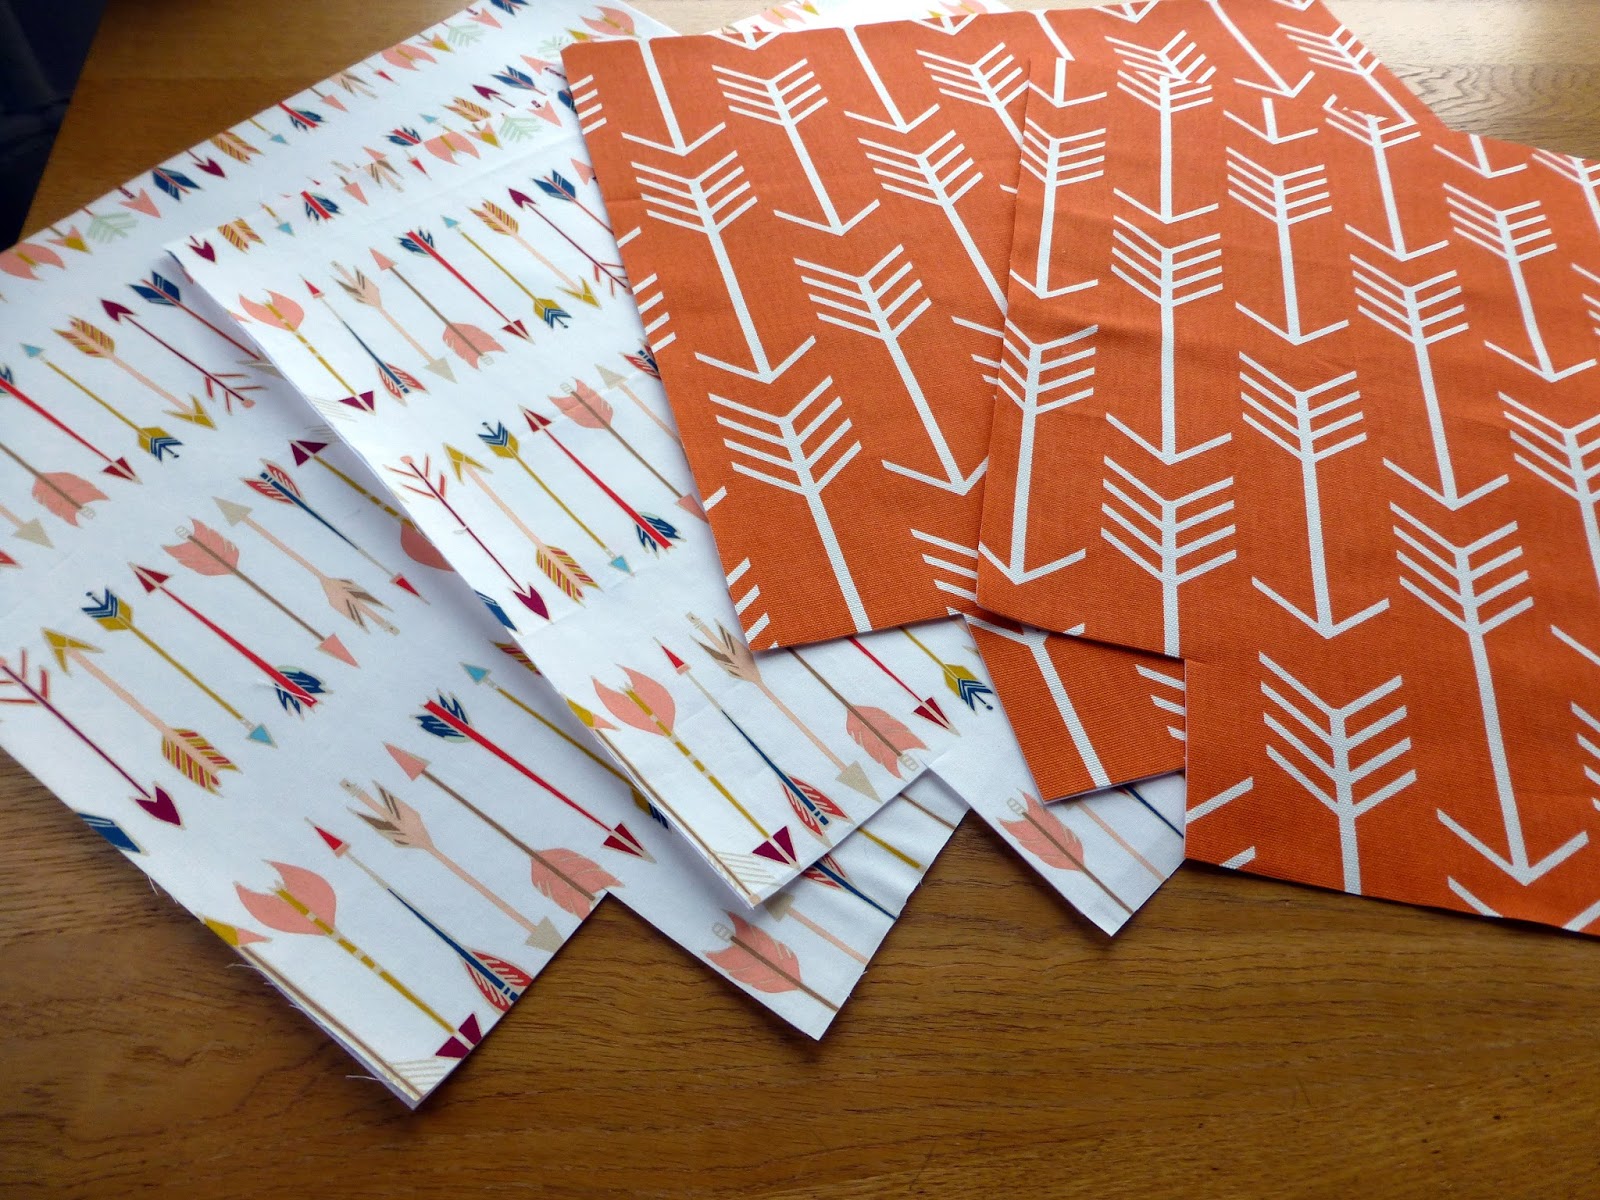
Materials:
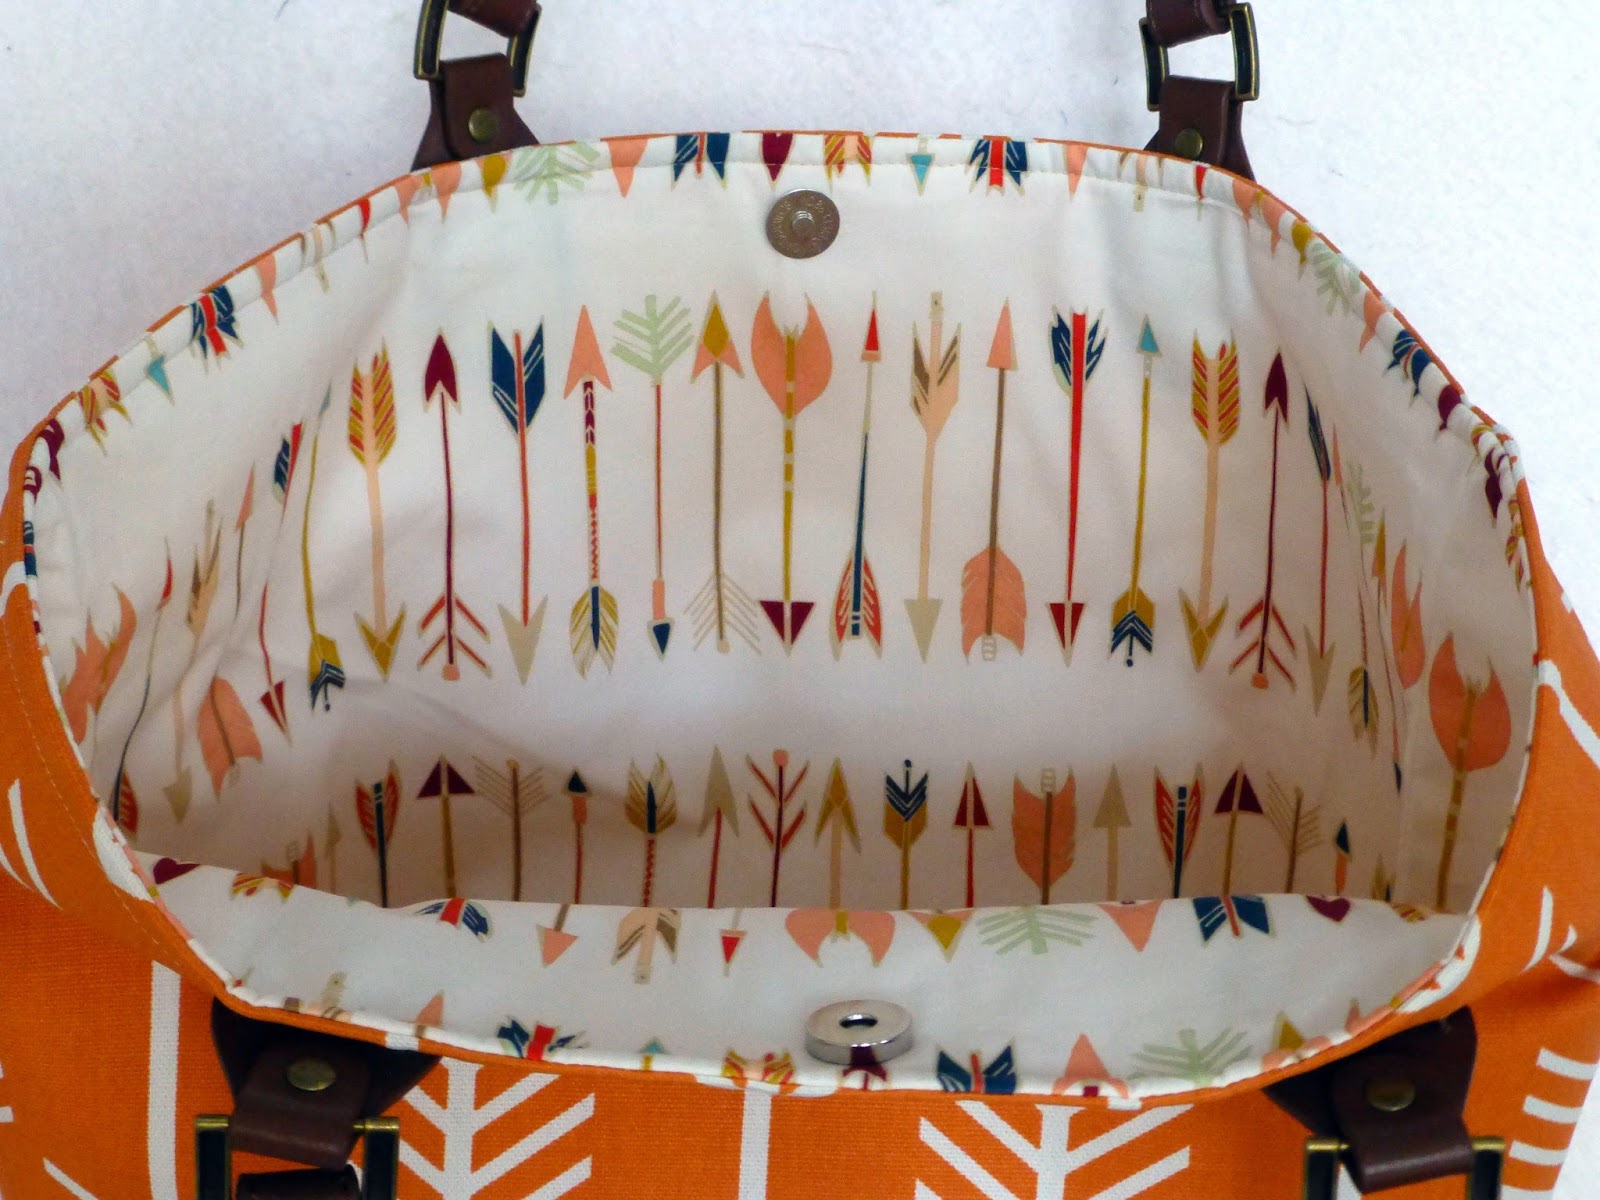
0.5m outer fabric (Arrow Apache Orange / Macon)
0.5m lining fabric (Fletching Chant)
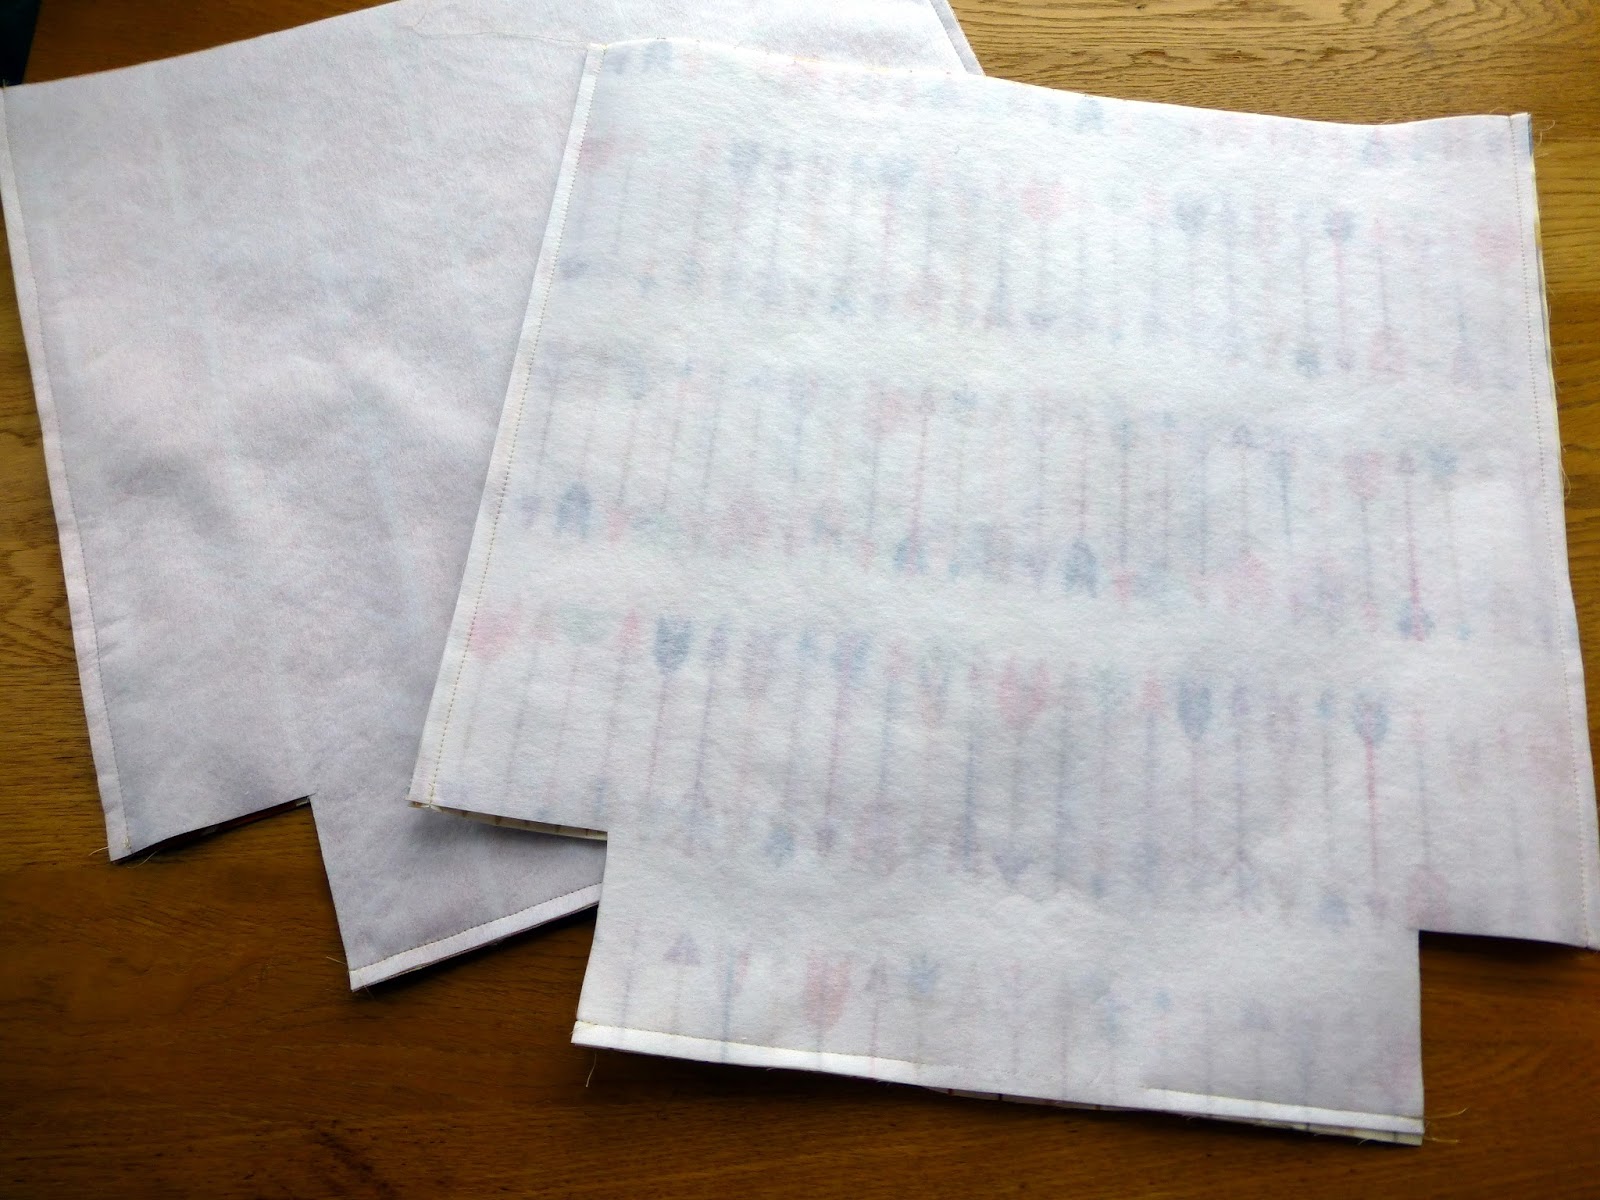
1m heavy weight sew-in vilene
1 pair sew-on handles
1 magnetic clasp
Basting Spray 505
Embroidery floss
Method:
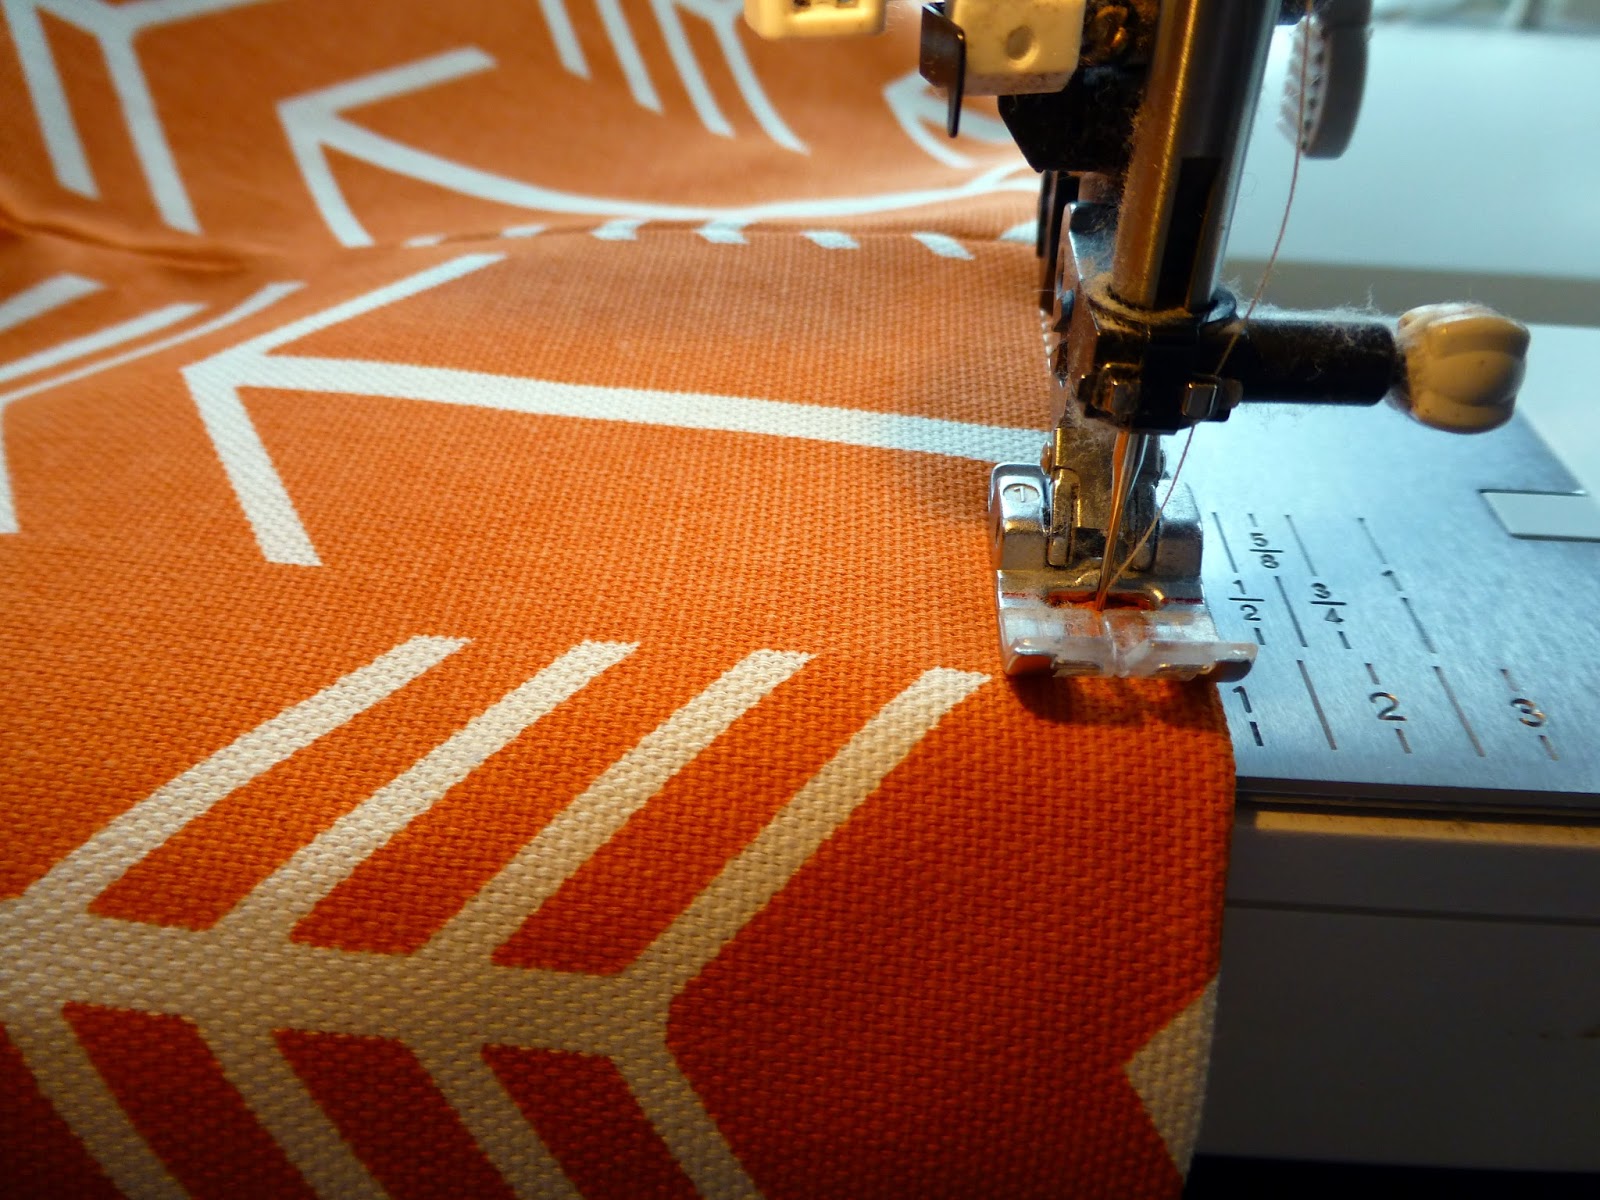
Assume 3/8" seam allowances throughout
1. From outer fabric (2), lining fabric (2) and vilene (4) cut 18" x 18".
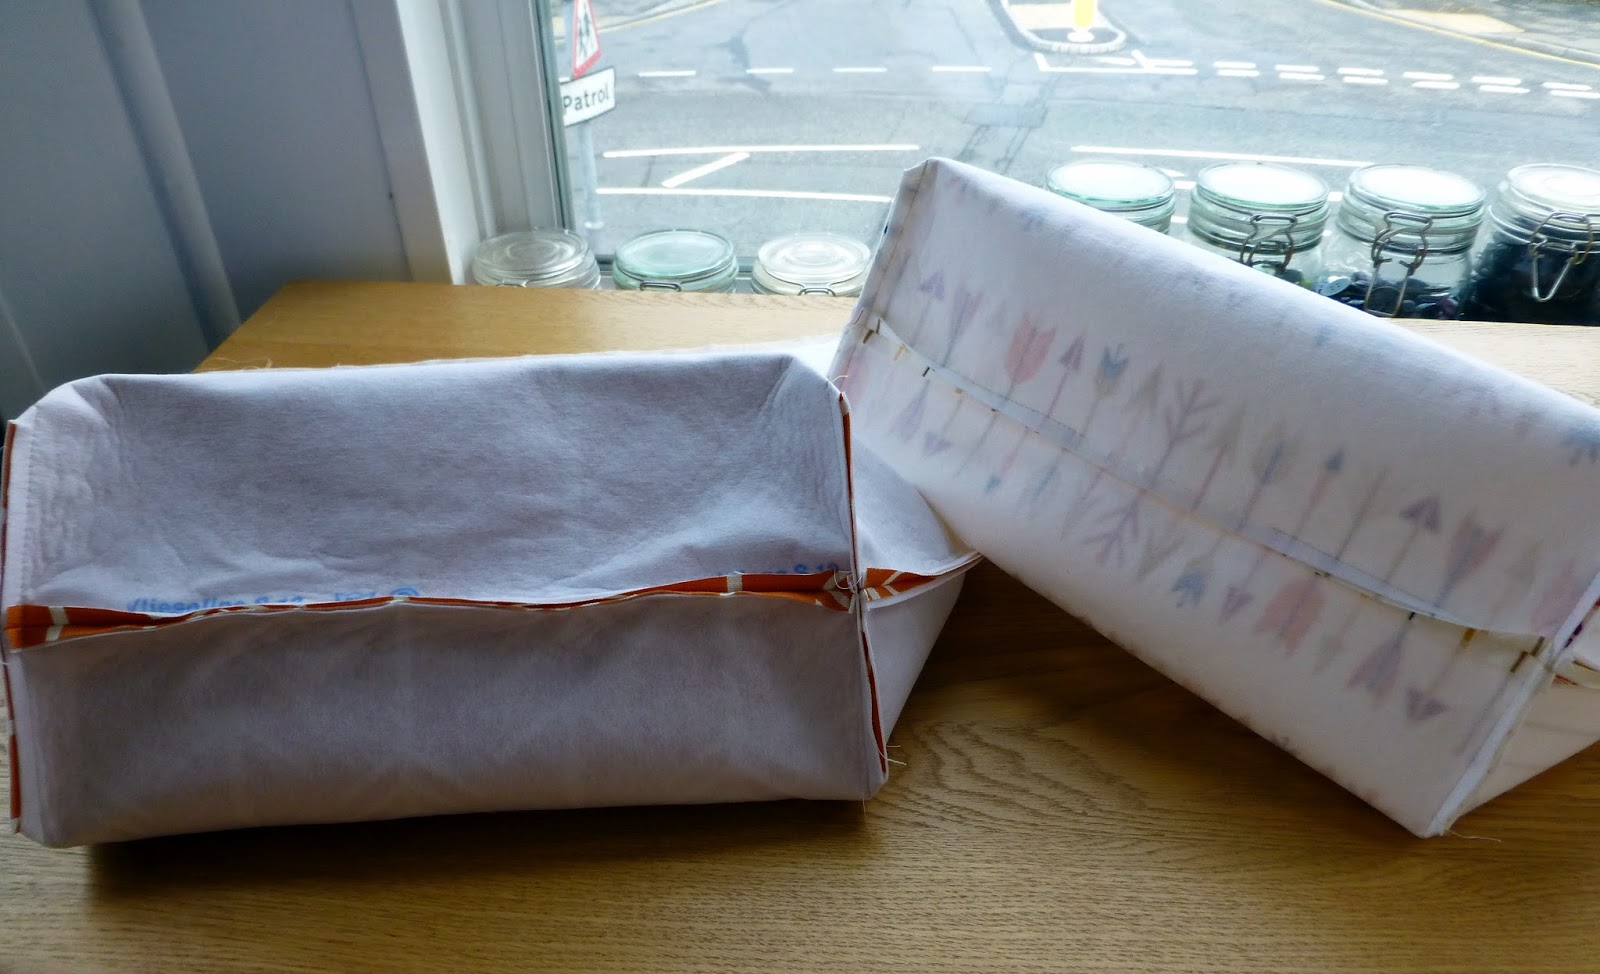
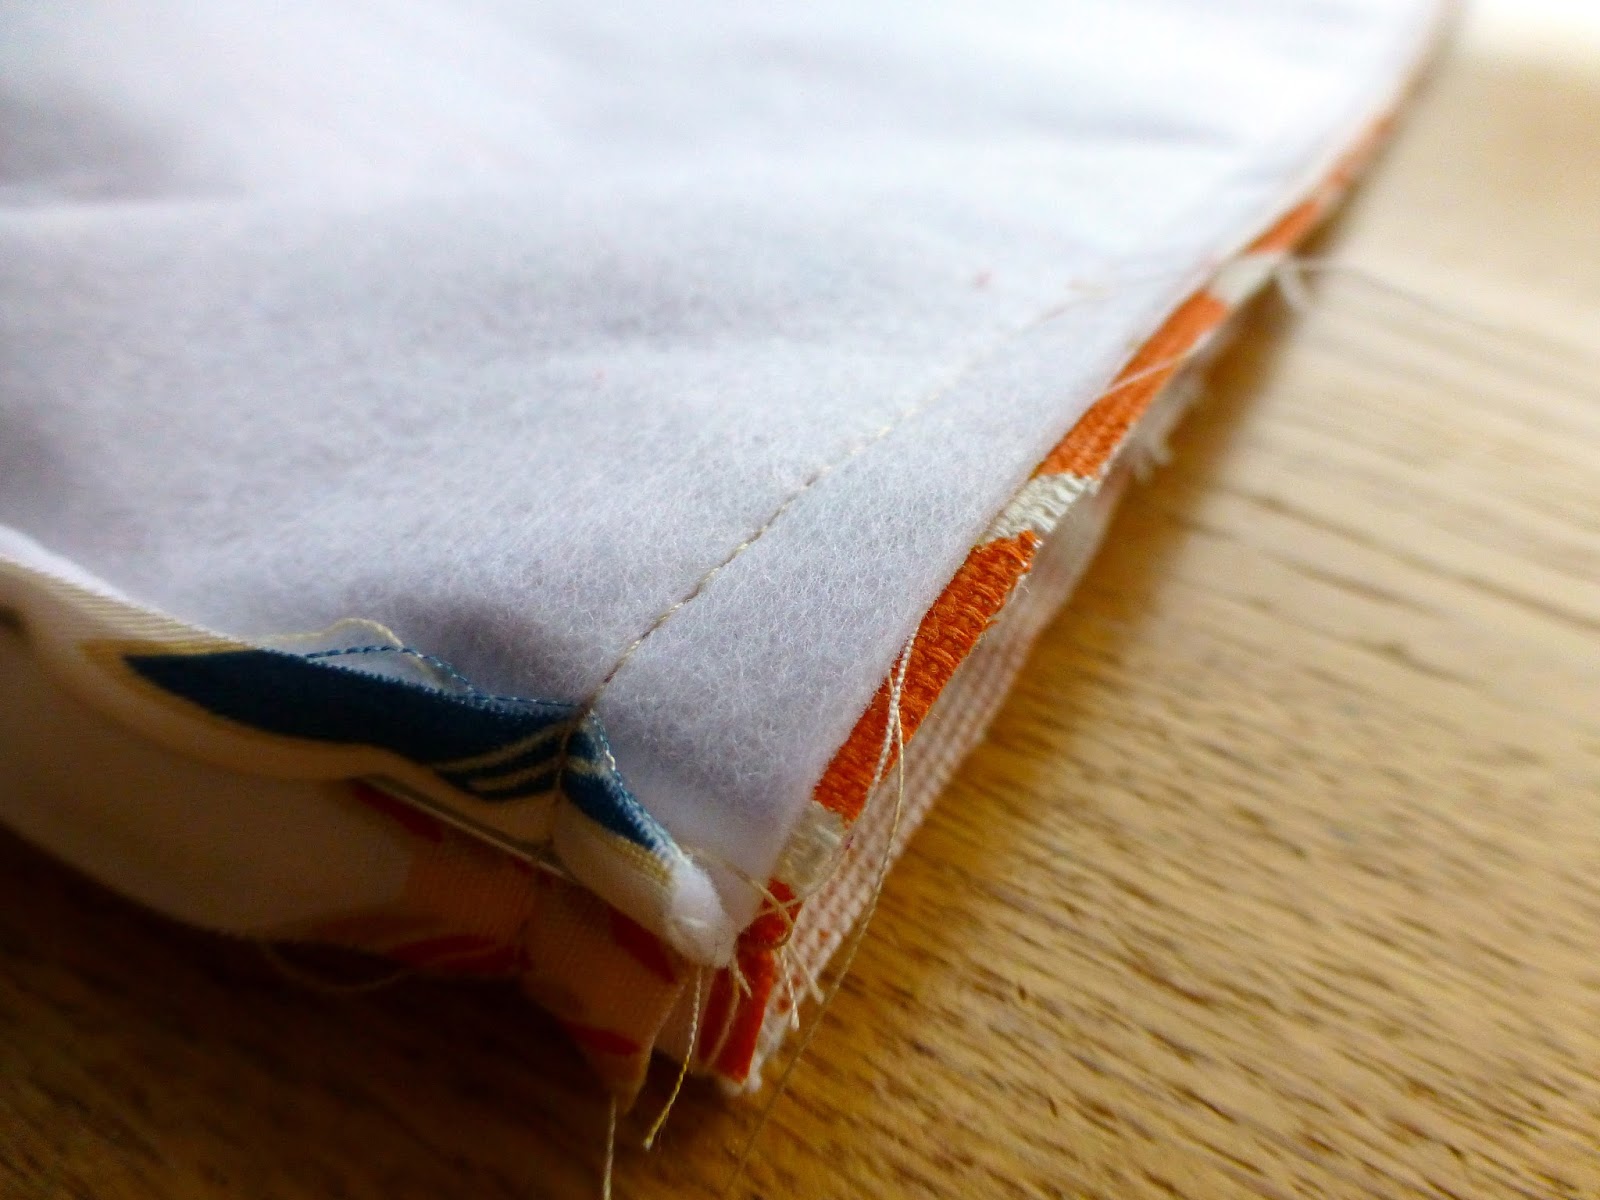
2. Spray baste the vilene to the wrong sides of outer and lining fabrics. Measure and cut 3" squares from bottom corners.
3. Place both outer fabrics right sides together and sew sides and bottom edges (leave corners open). Repeat for both lining fabrics, leaving a 3" gap in the middle of the bottom edge.
4. Pull one of the corners apart and place the side seam on top of the bottom seam. Sew across the straight edge that has been created at the corner (start and finish with a reverse stitch).

5. Repeat for all corners.
6. Turn outer bag right sides out and place inside the lining (right sides will be together). Align the side seams and pin around the top edge.

7. Sew around the top edge & pull bag through gap in lining.

8. Push lining down into the bag, press and sew around top edge again.
9. Insert magnetic clasp: Find the centre of the top edge and come down 1". Press the 'legs' of the clasp onto the fabric to create indentations.
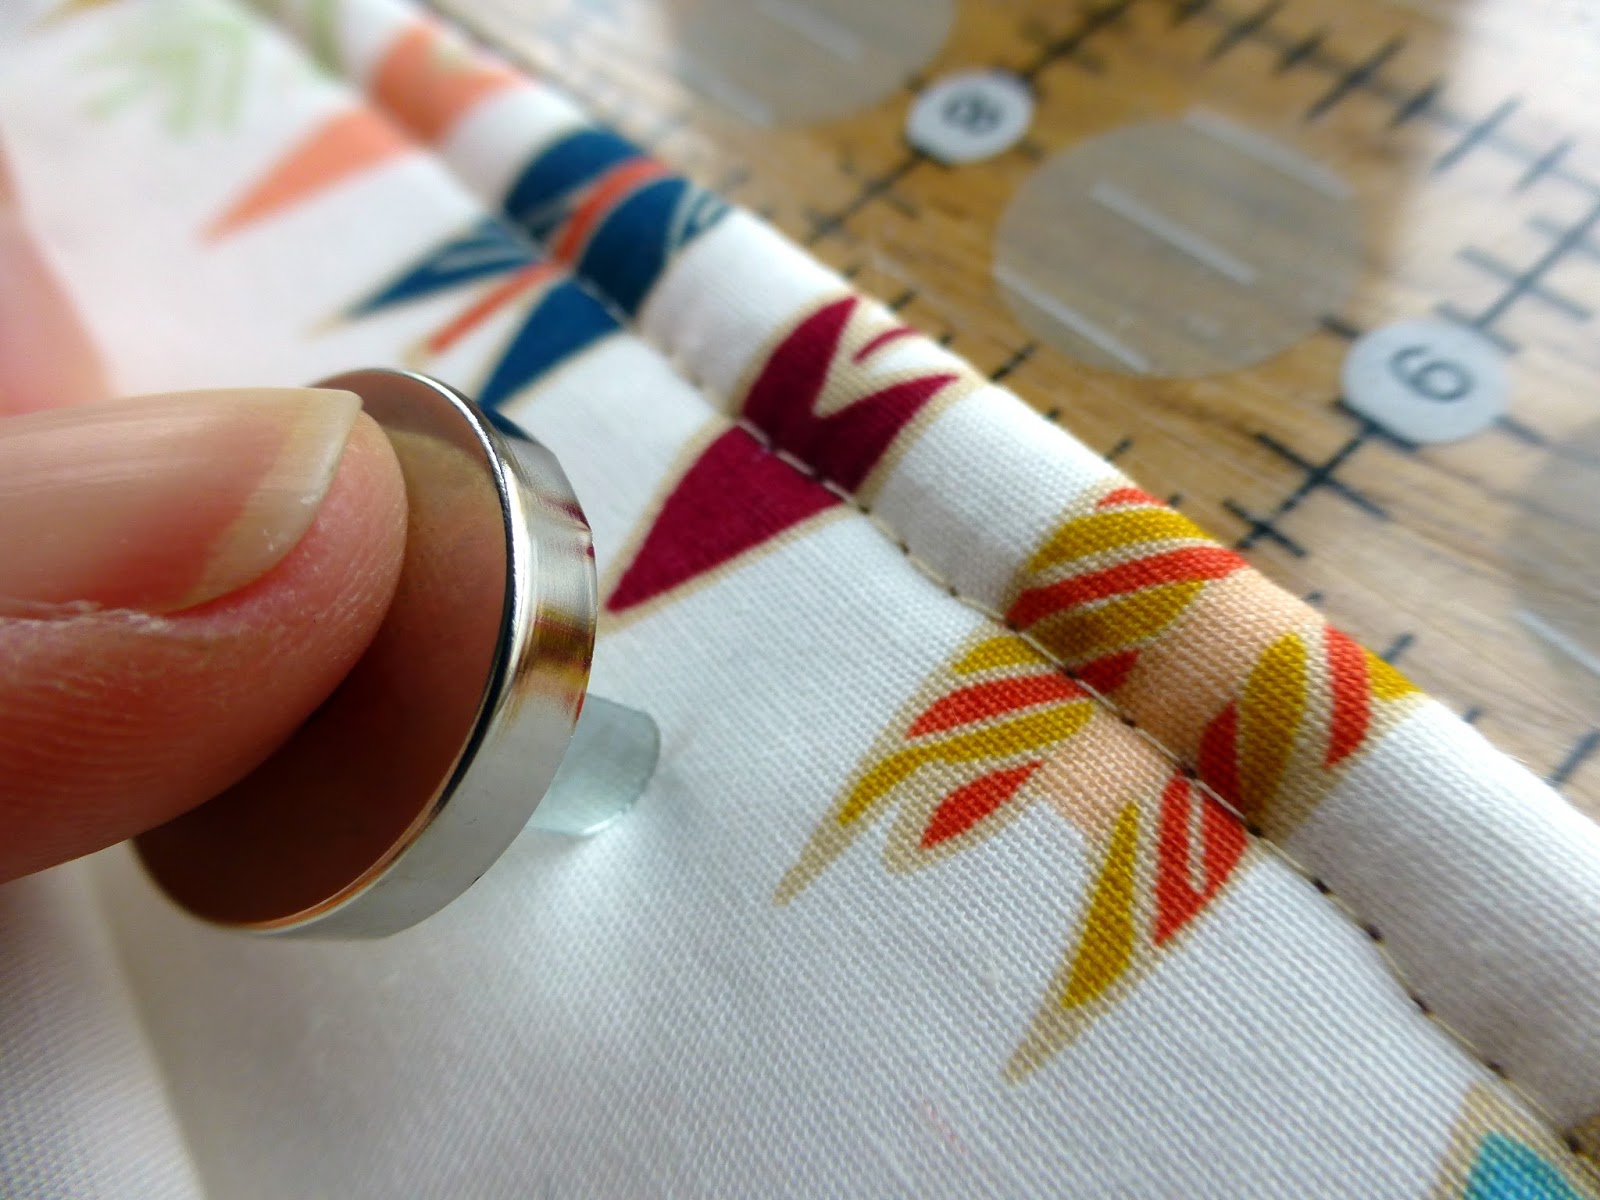
10. Carefully nick into the indentations with a stitch ripper (take care not to slice!).
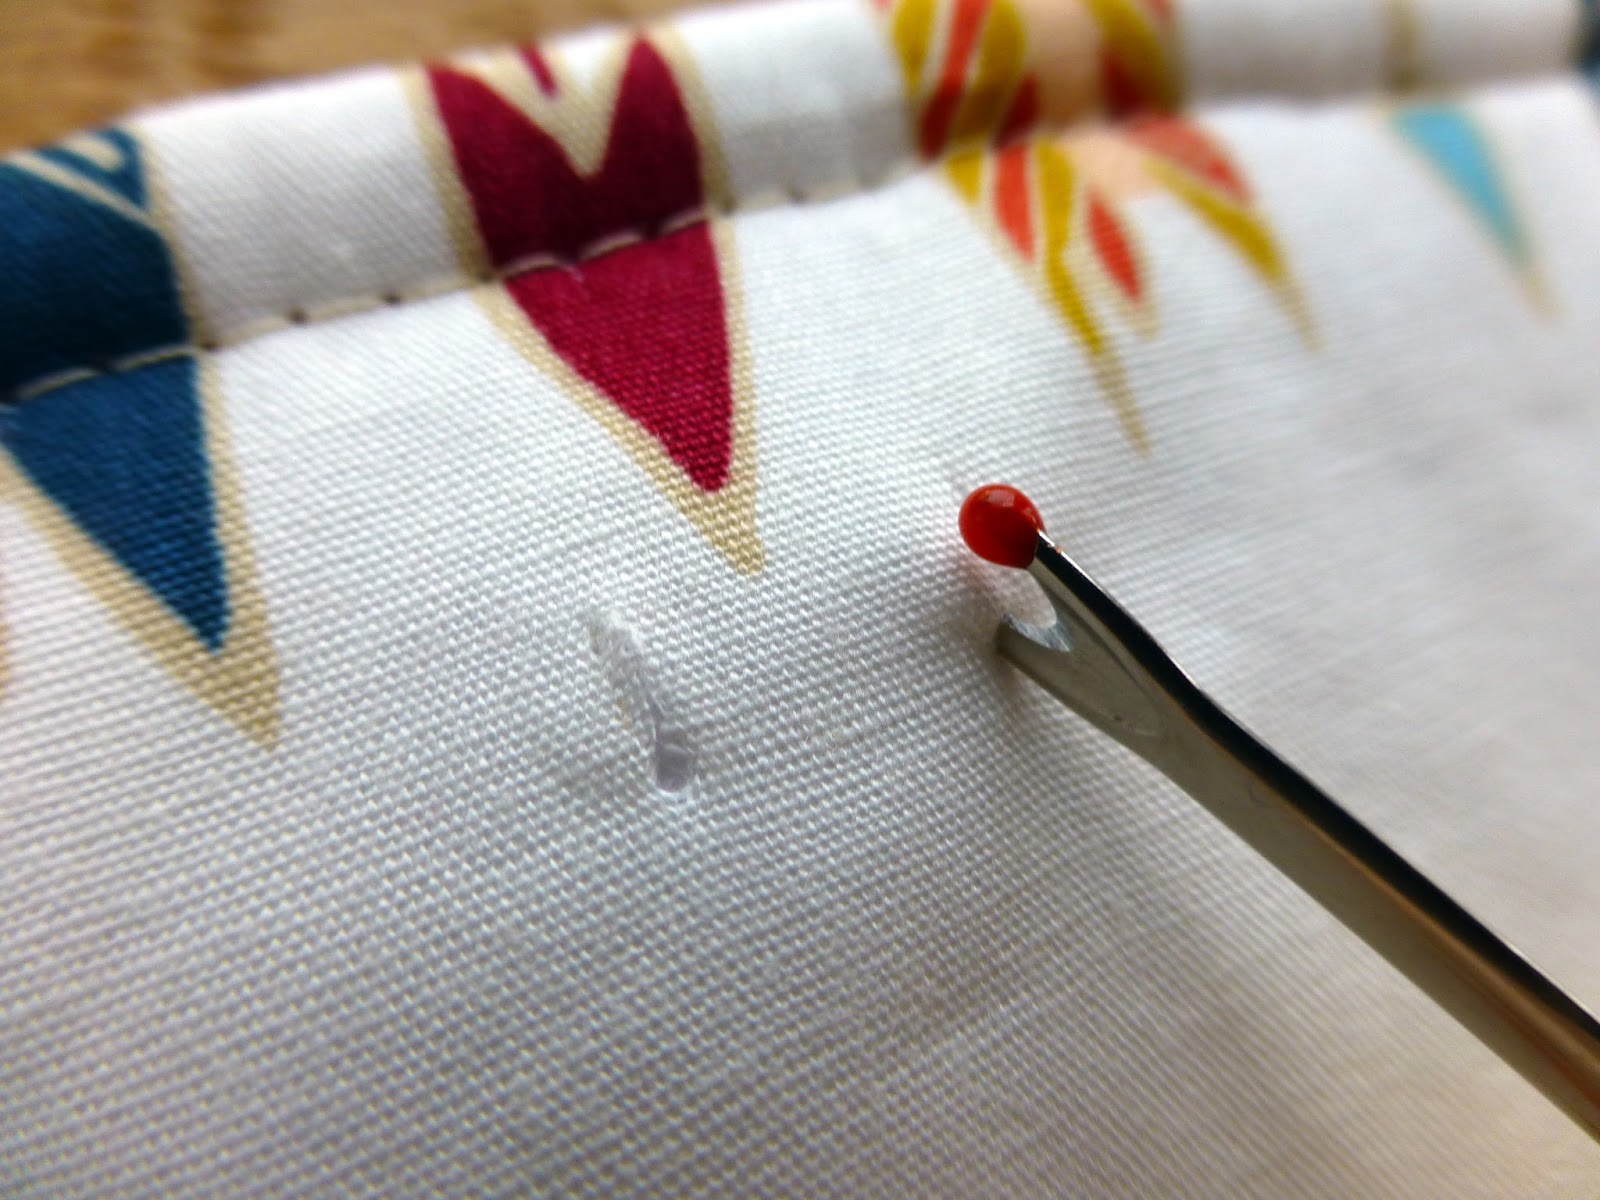
11. Insert 'legs' of clasp through nicks and place washer over the legs at the back (you will need to access the gap in the lining for this).

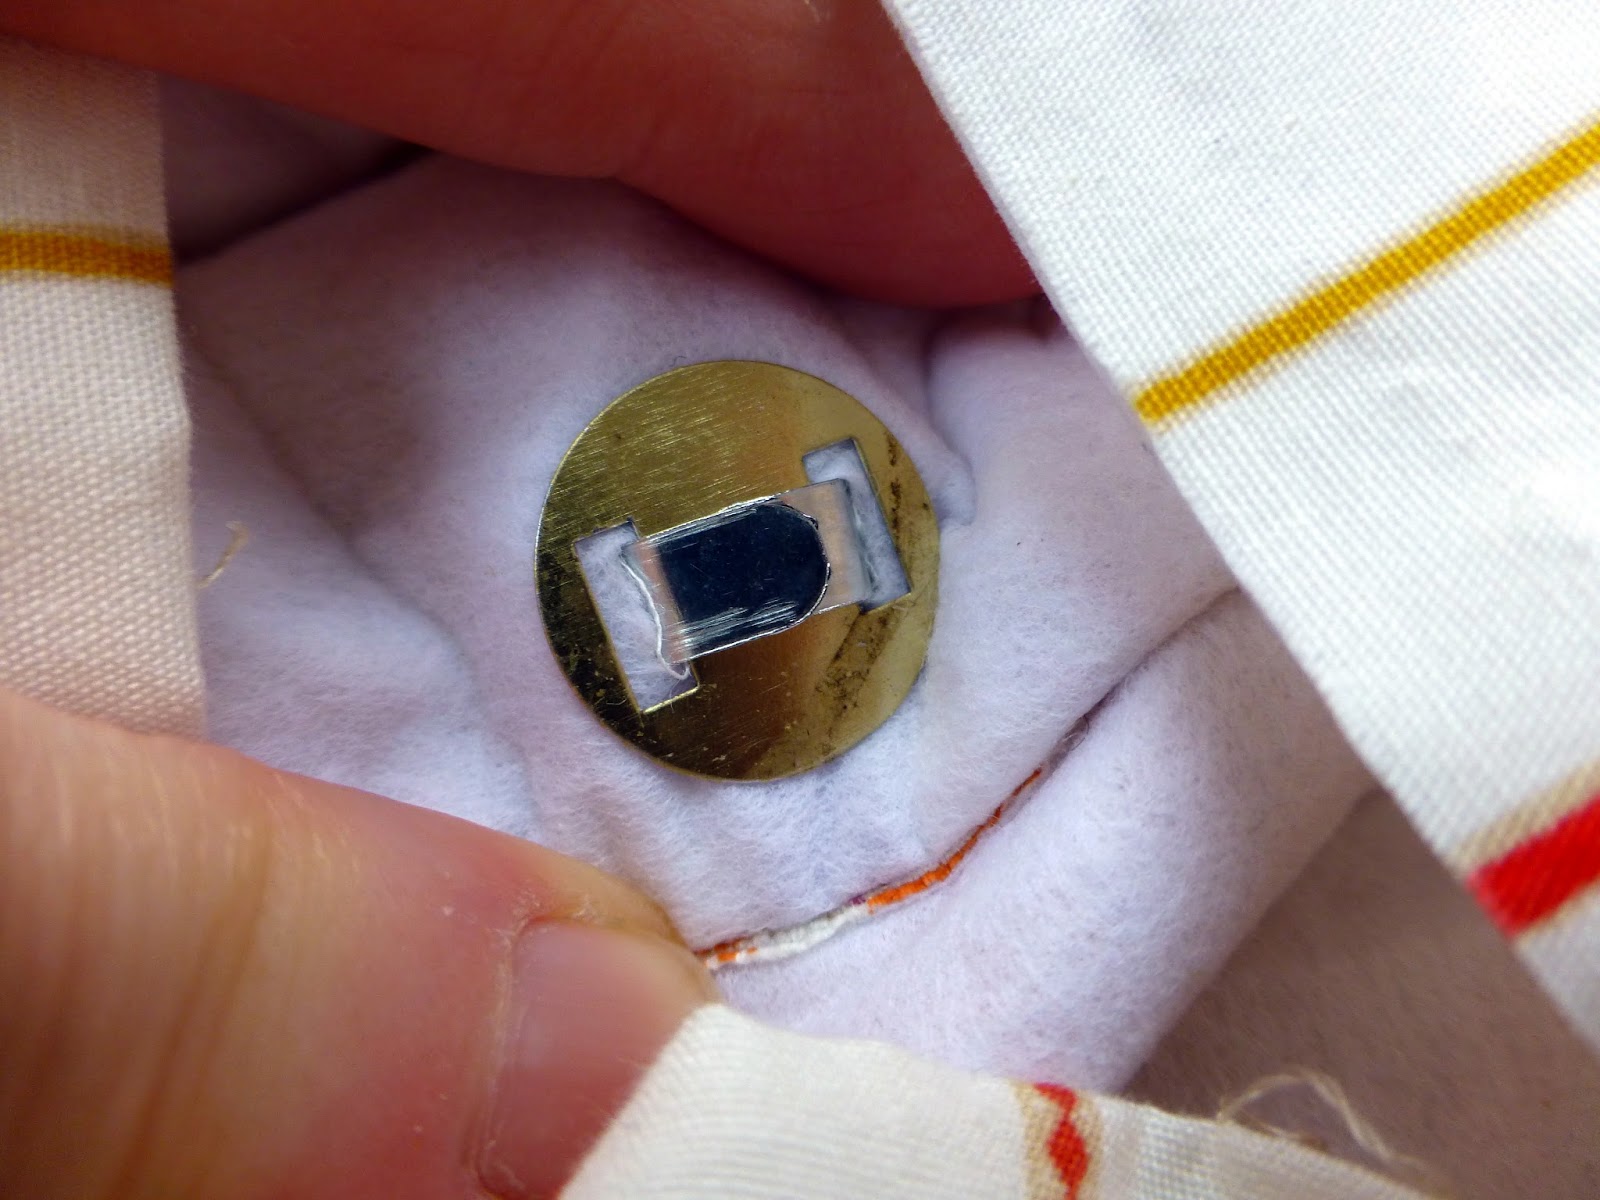
12. Repeat for the other half of the clasp, making sure they are aligned.

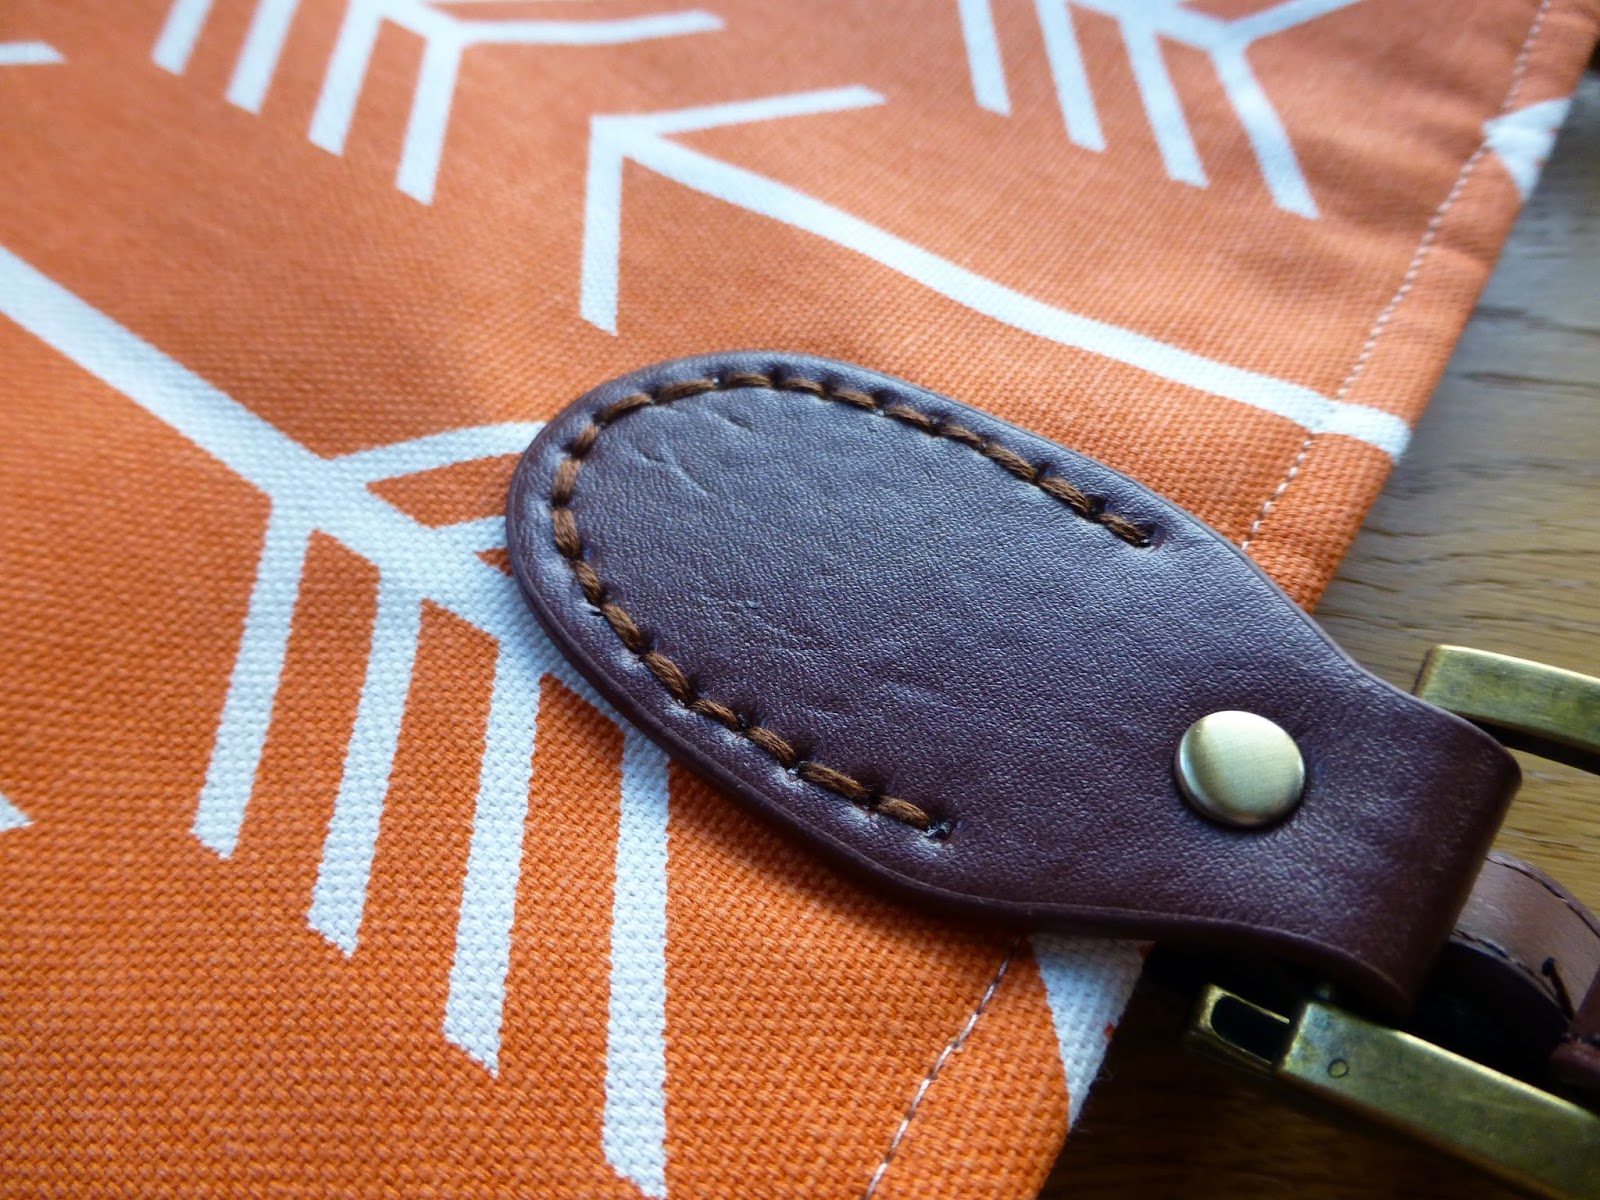
13. Sew on the handles to the outer fabric only (again you will need to access the gap in the lining to do this).
14. Finally sew up the gap in the lining and hit those shops!
Happy sewing!
Jude xo