
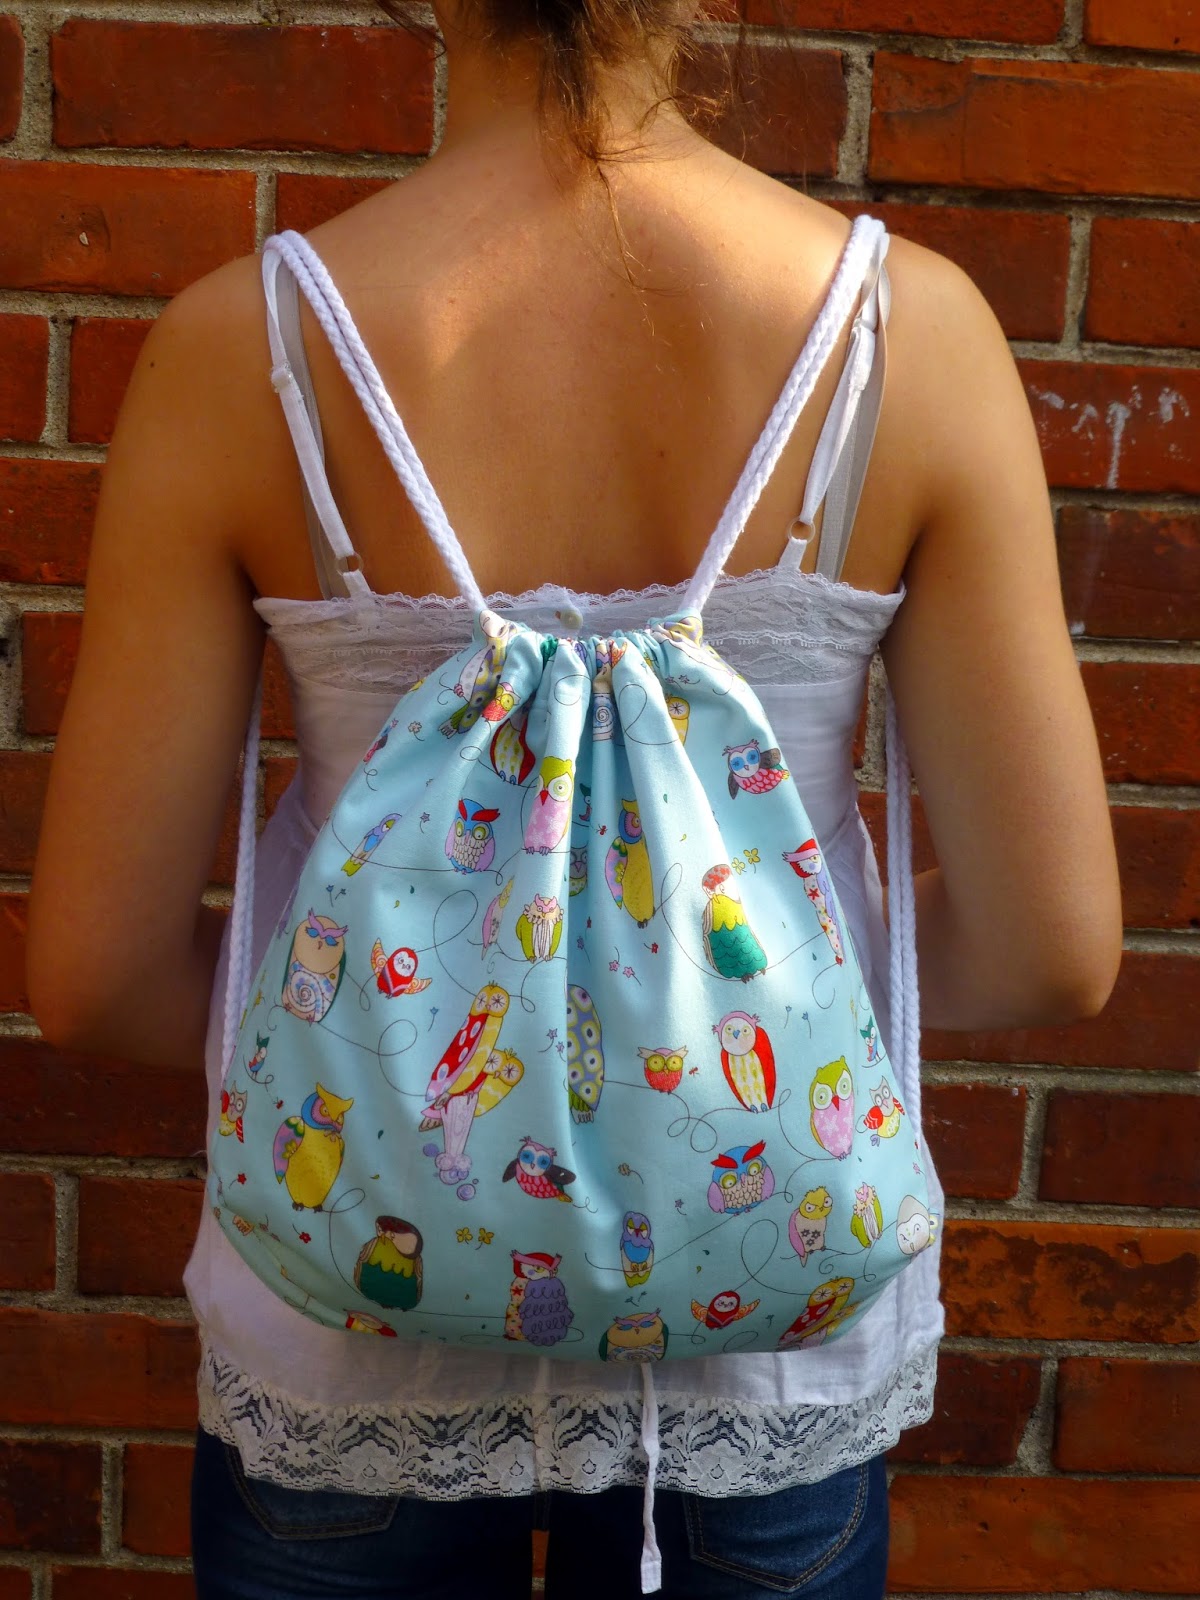
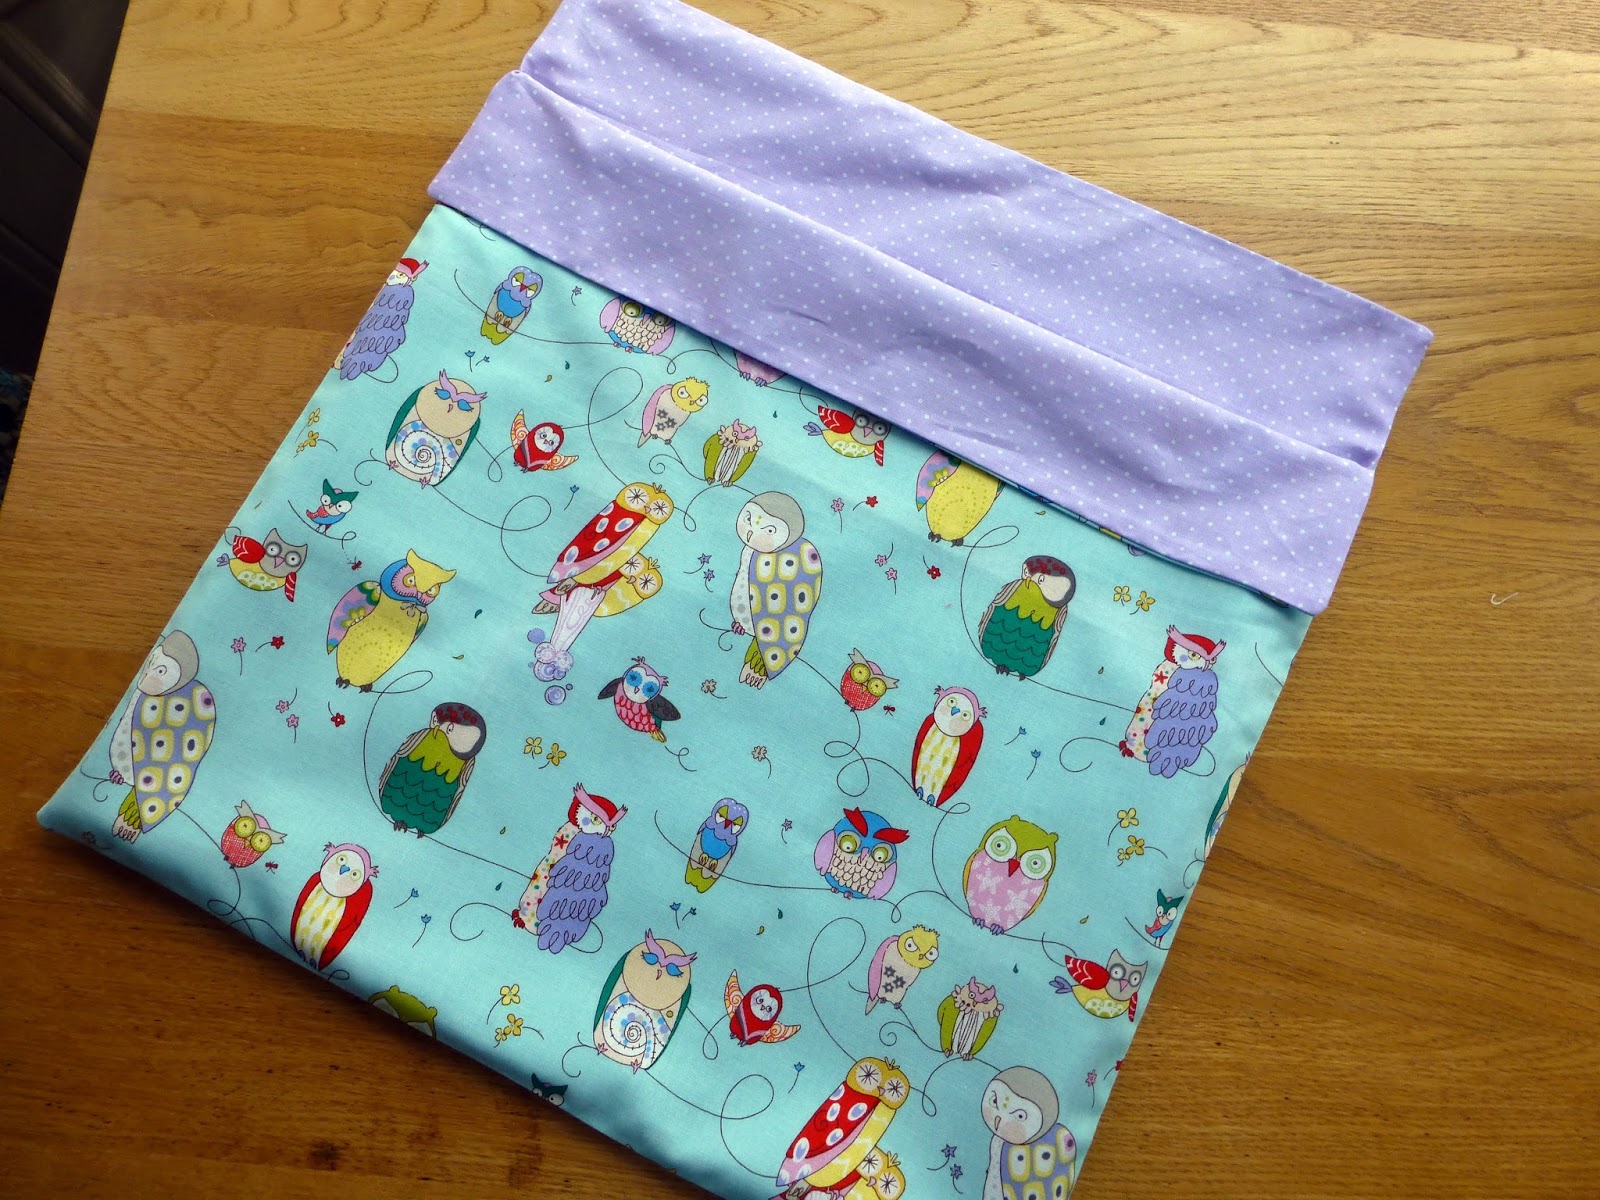
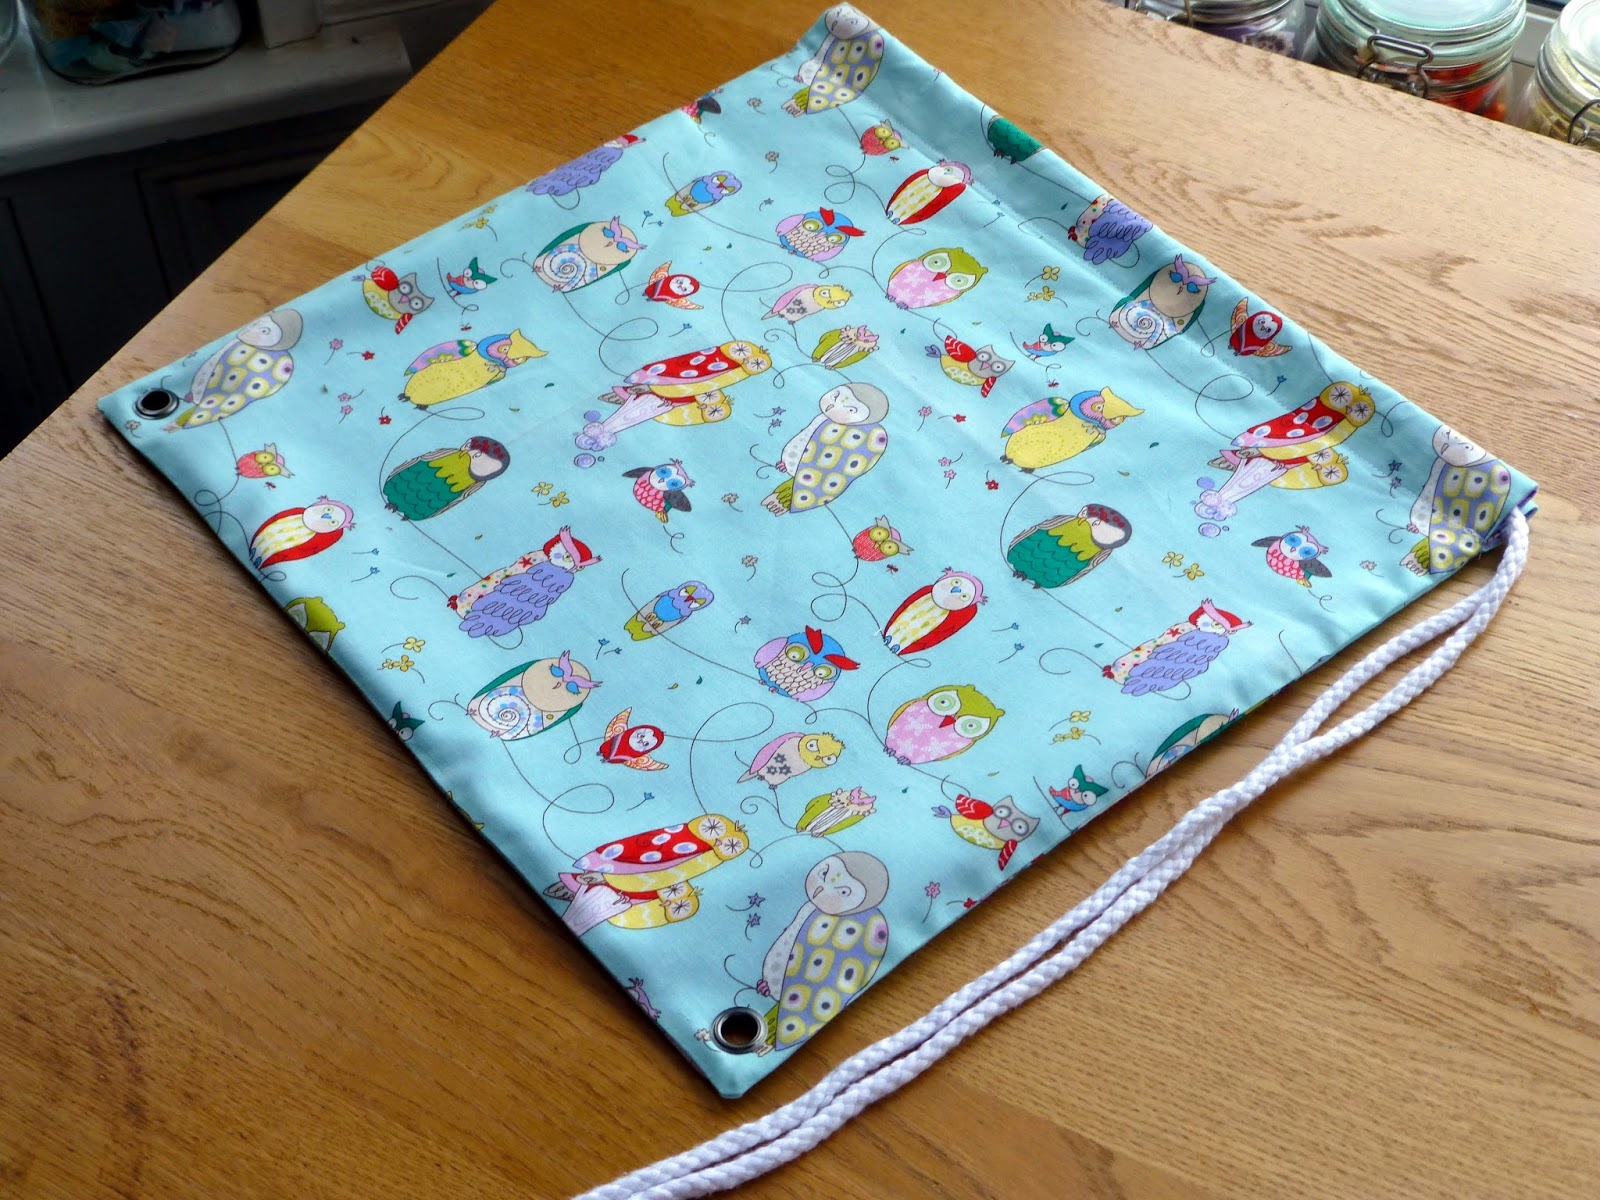
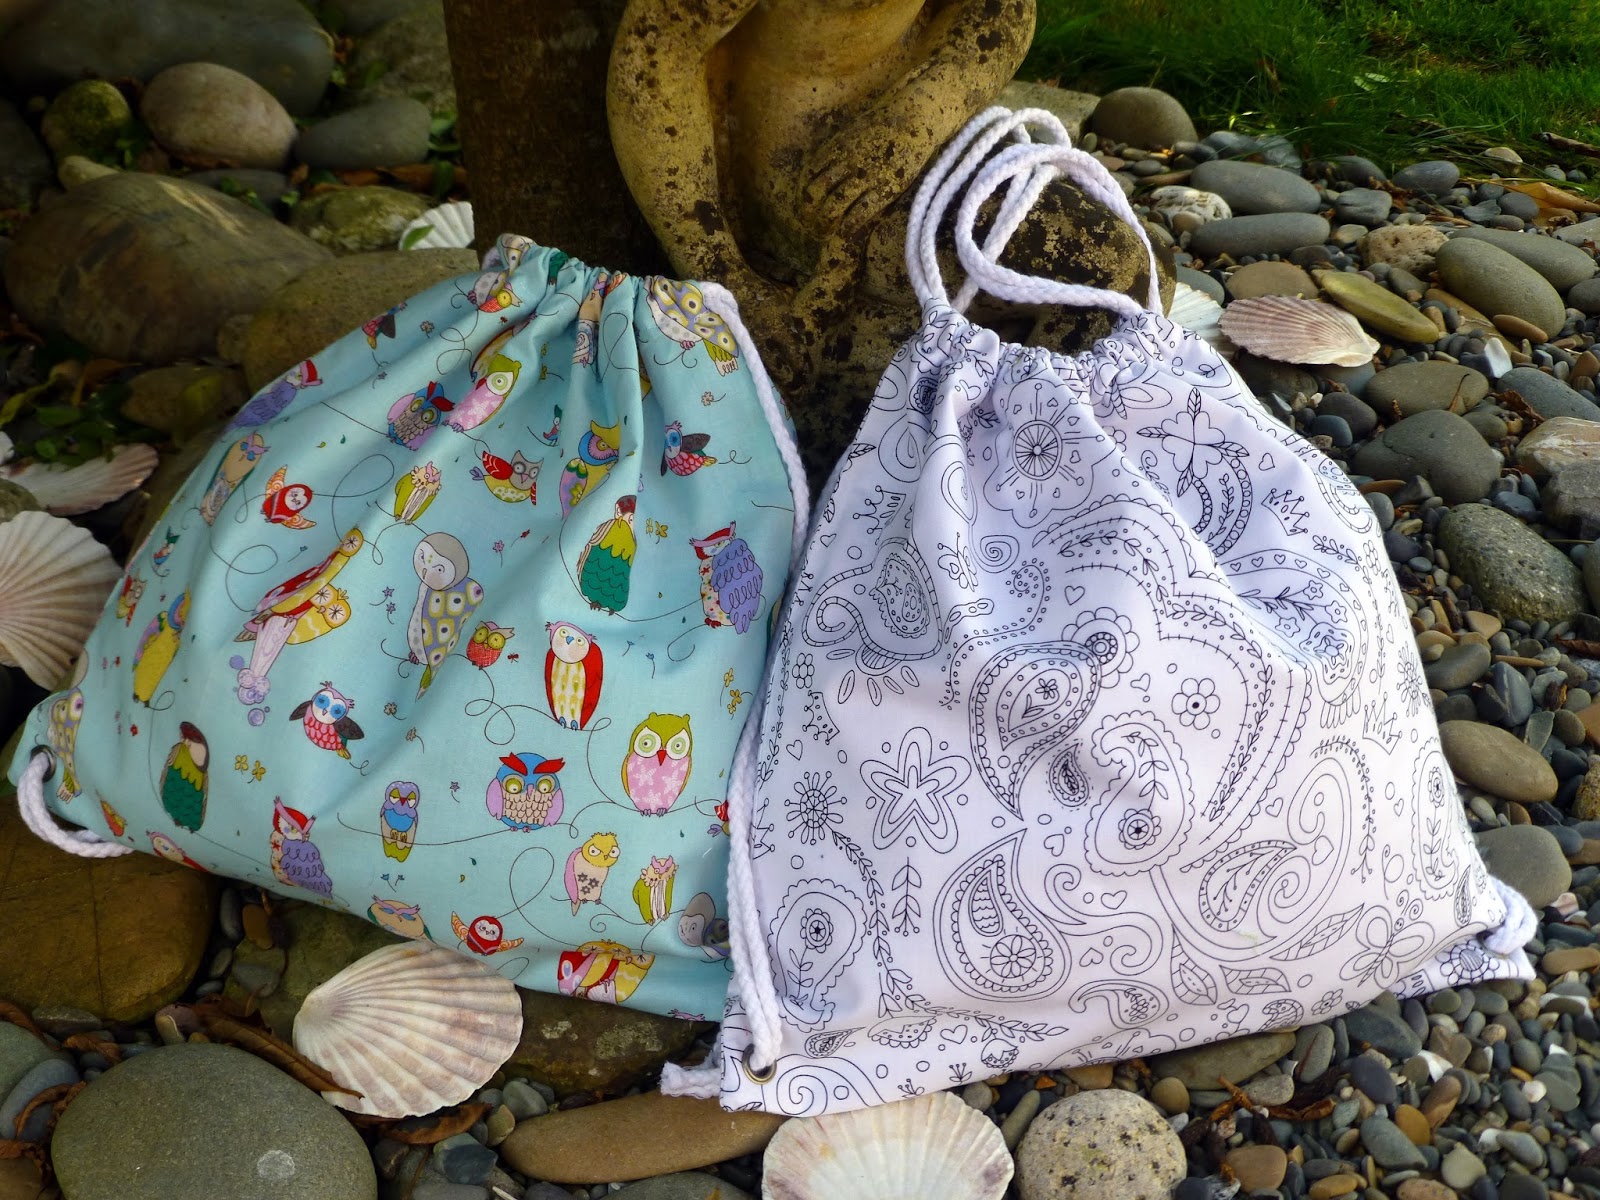
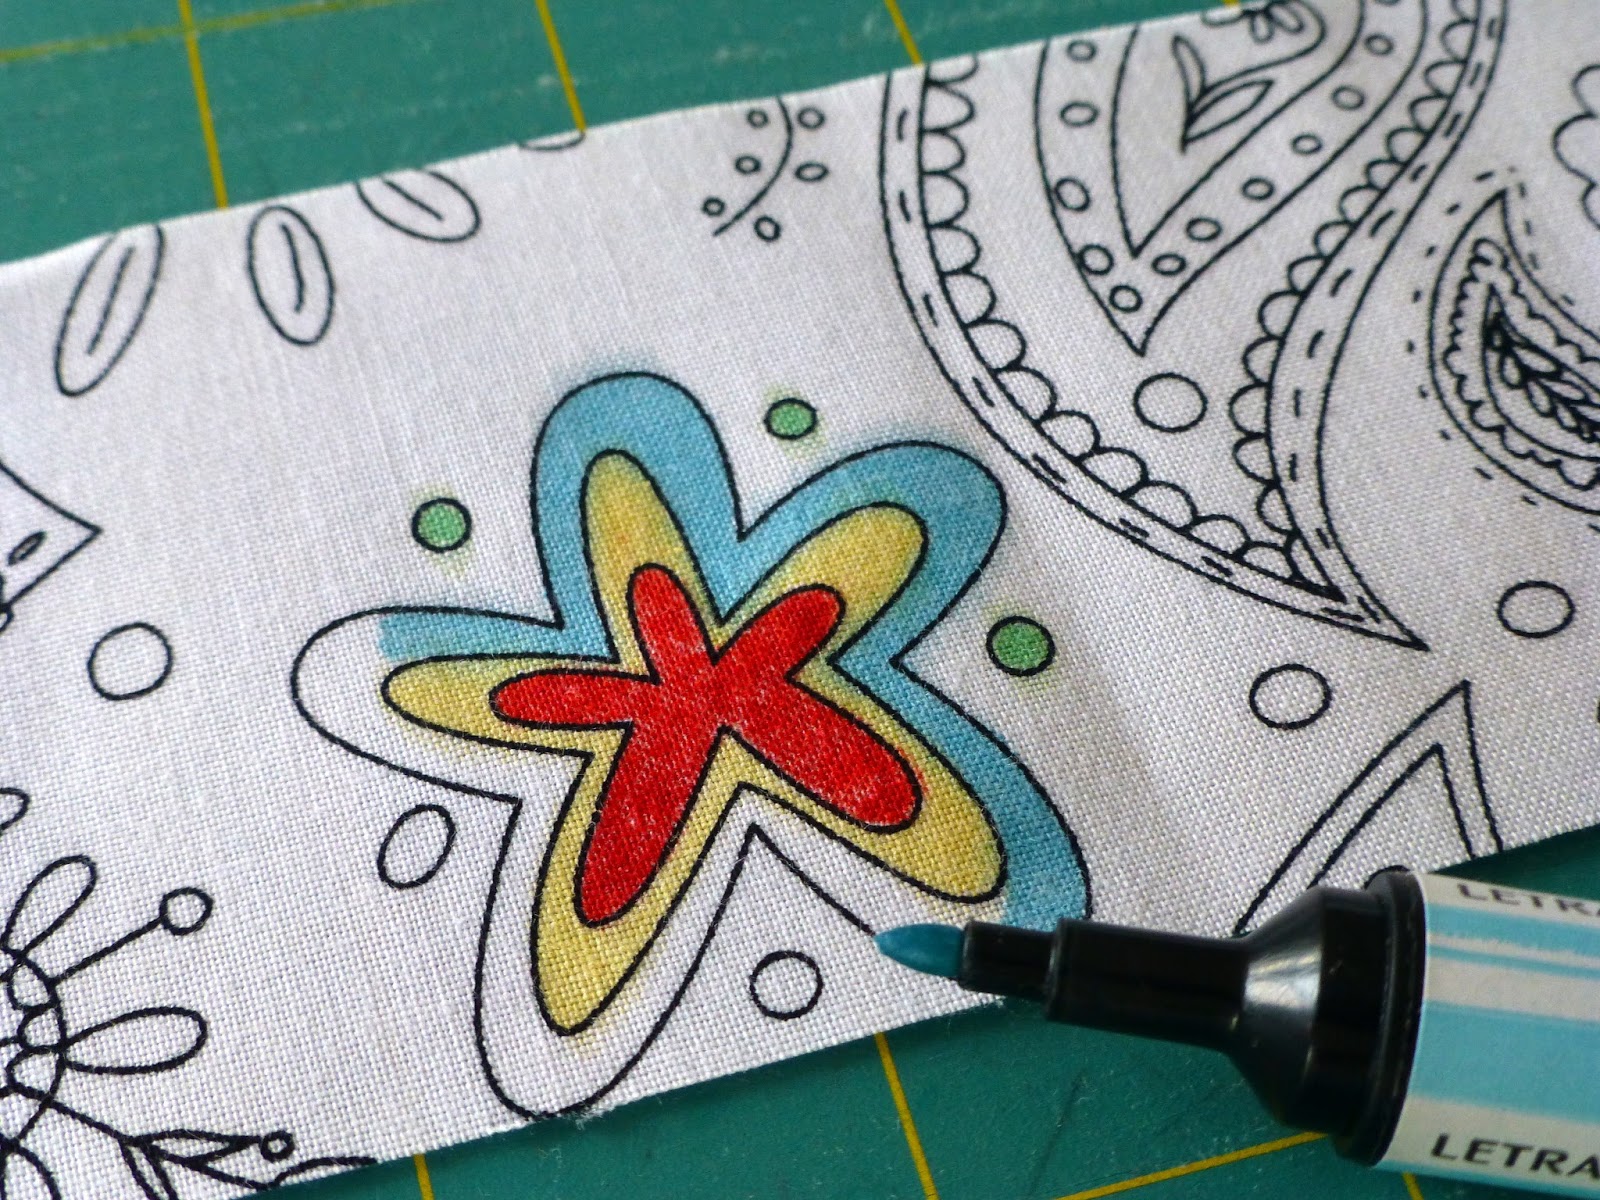
Judith from Just Jude Designs has once again knocked it out of the park with this awesome tutorial for a 'Kids Art Supplies Backpack'. Shown here in Alexander Henry Spotted Owls Blue, she also made a 'Colour Me' version using Hayley Crouse's fantastic Color Me fabric from Michael Miller which allows you to colour in your fabric yourself!
Kids Art Supplies Backpack
approx. 14" x 15"
You will need:
0.5m fabric - outer (2 pieces cut 16" wide by 17" tall) Spotted Owls Blue or Color Me fabric used here
0.5m fabric - lining (2 pieces cut 16" wide by 17" tall)
3.25m of 8mm cord (cut in half widthways)
2 pairs of 15mm eyelets
Method: Assume 3/8" seam allowance unless advised otherwise
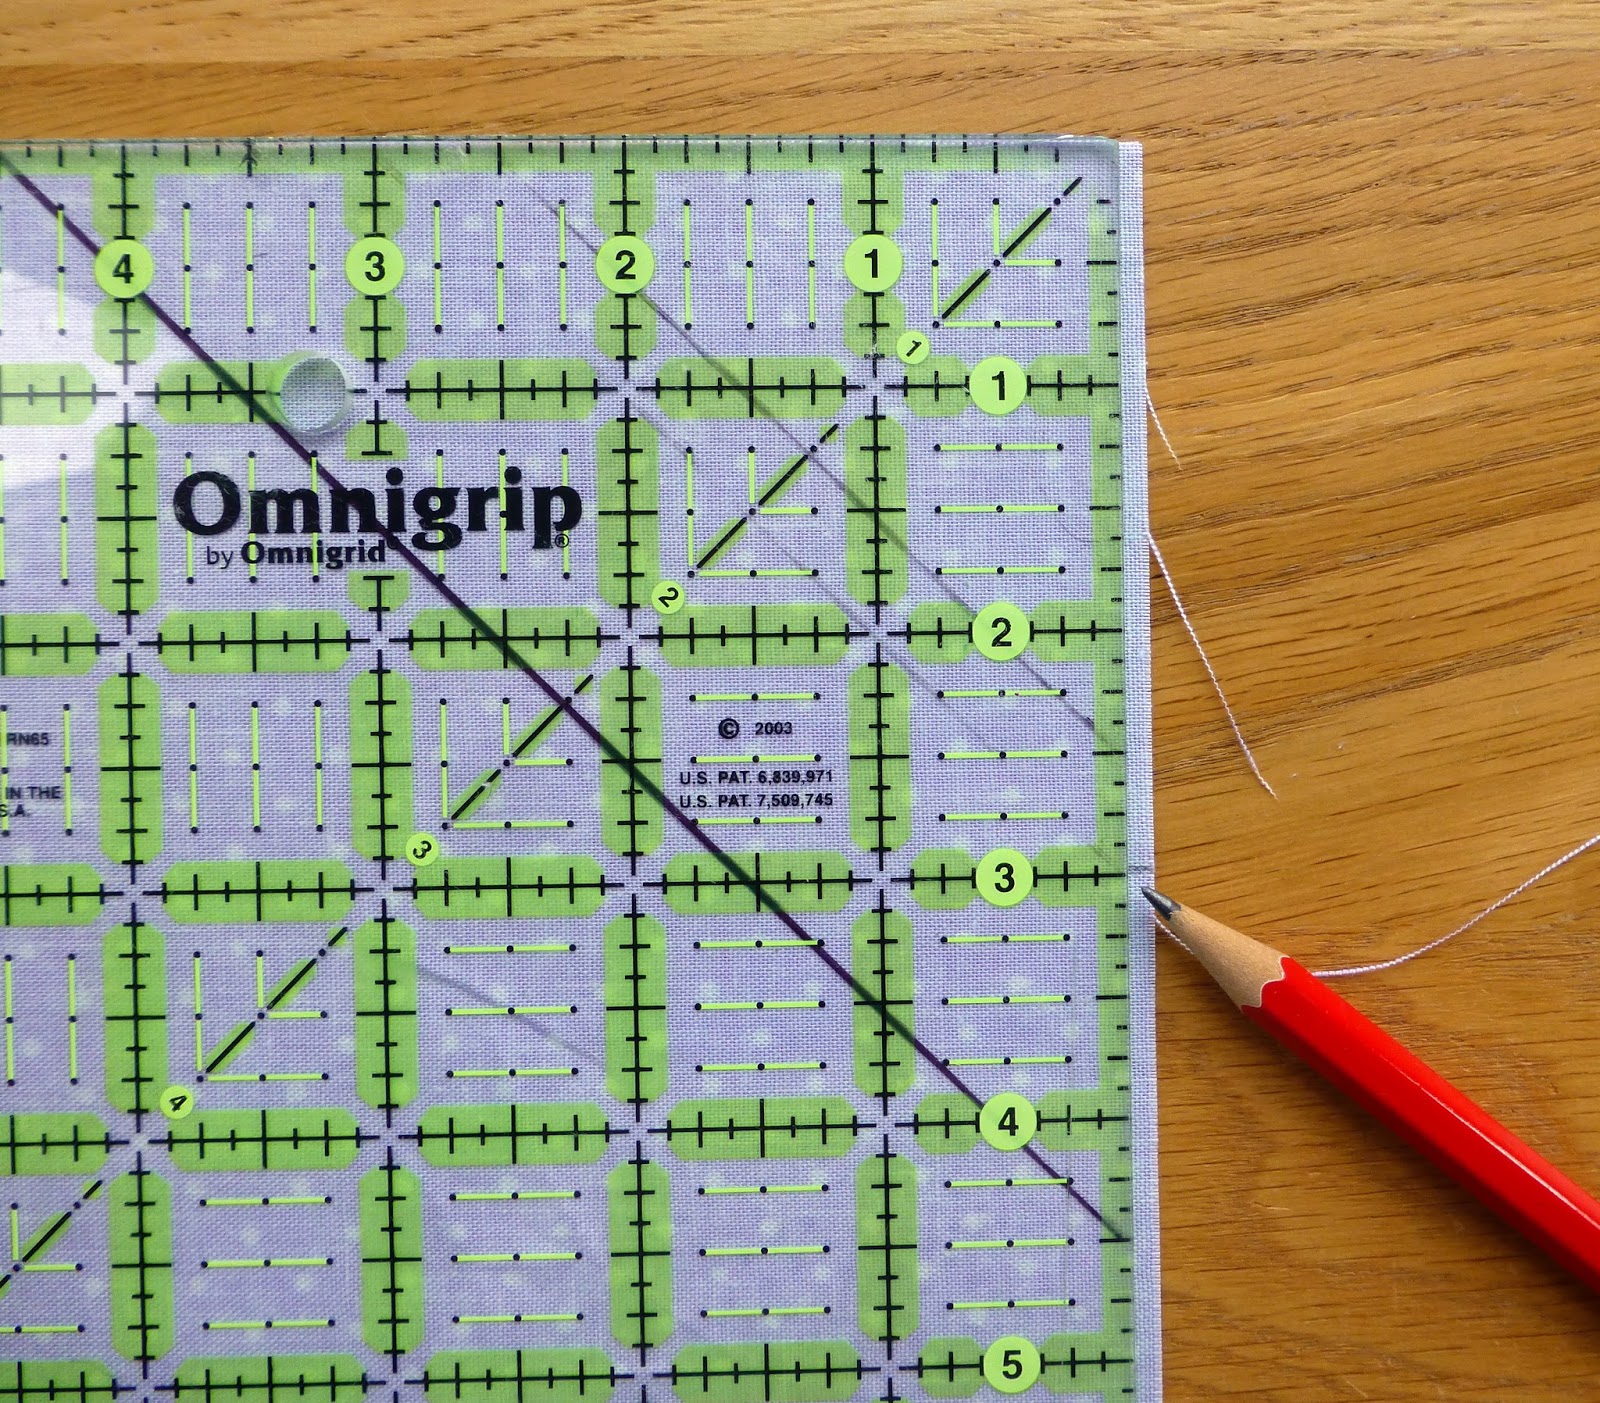
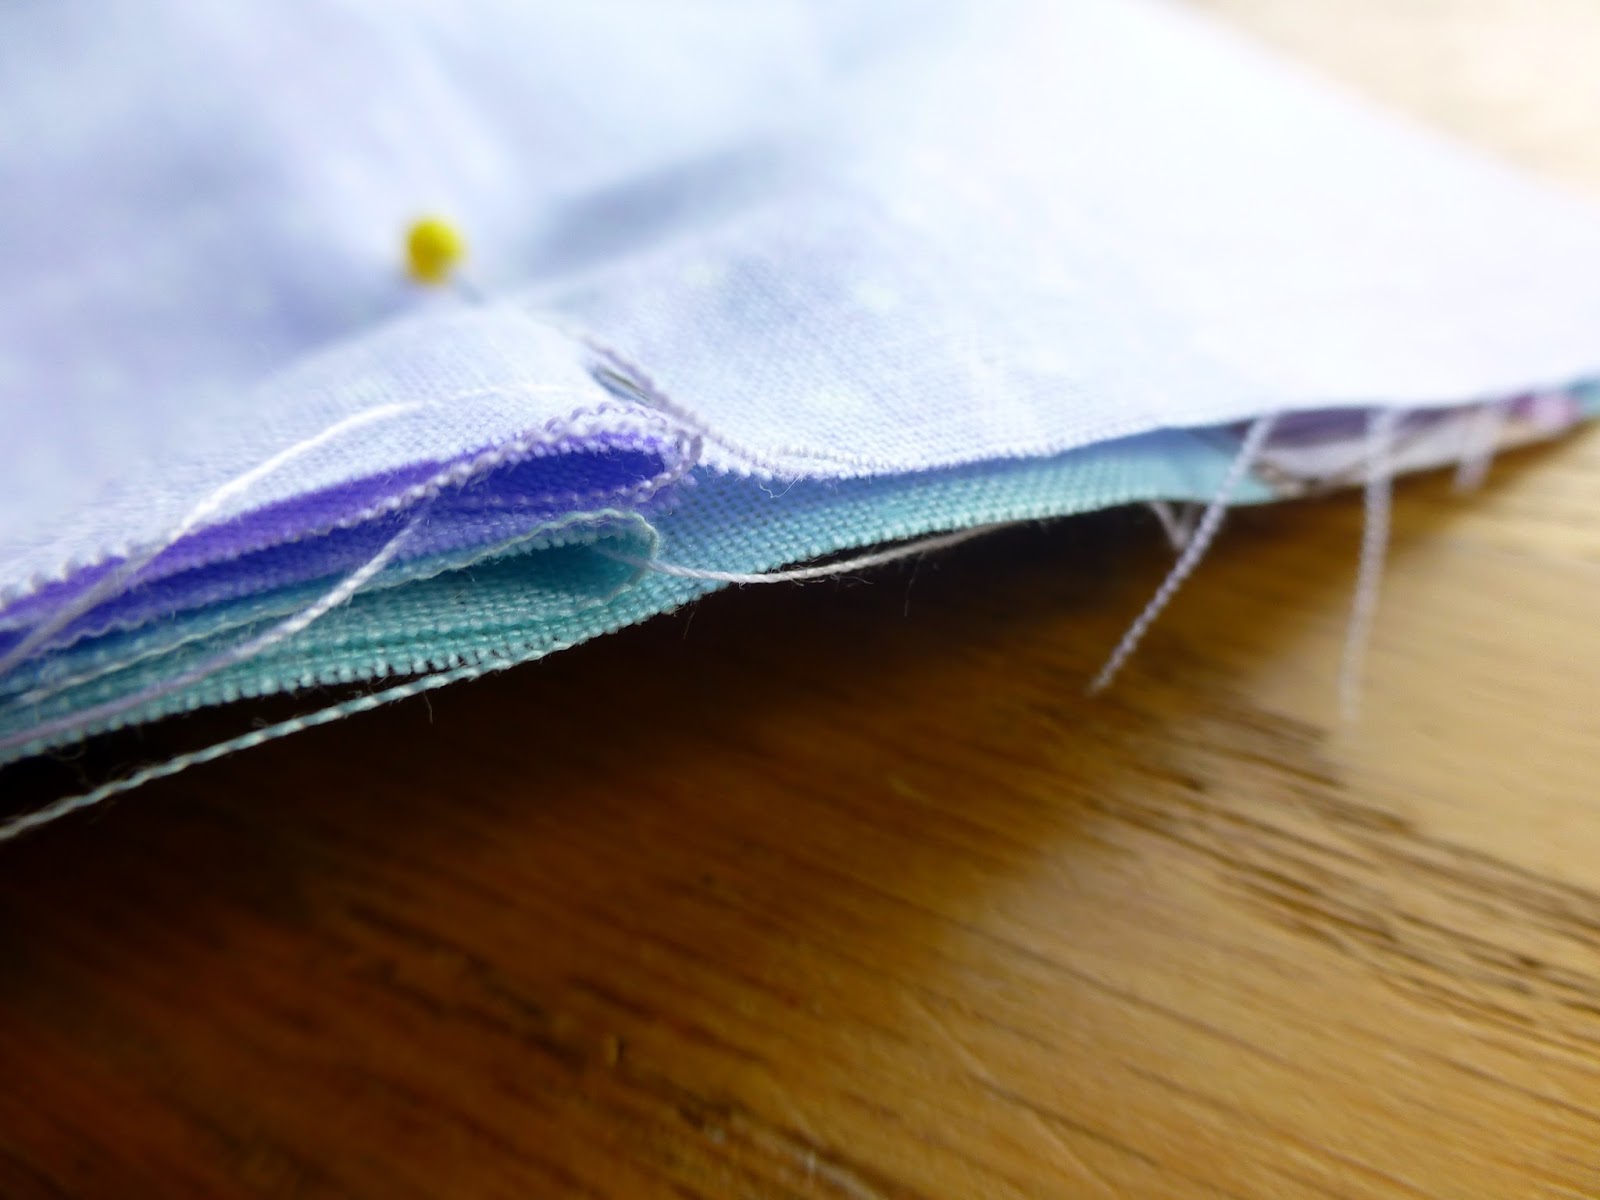
1. Place 2 linings right sides together. Measure and mark 3" down from top edge, on both sides.
2. Sew down from one marker to the next, leaving the top open (use a reverse stitch to start and finish). Leave 2" gap in middle of bottom edge.
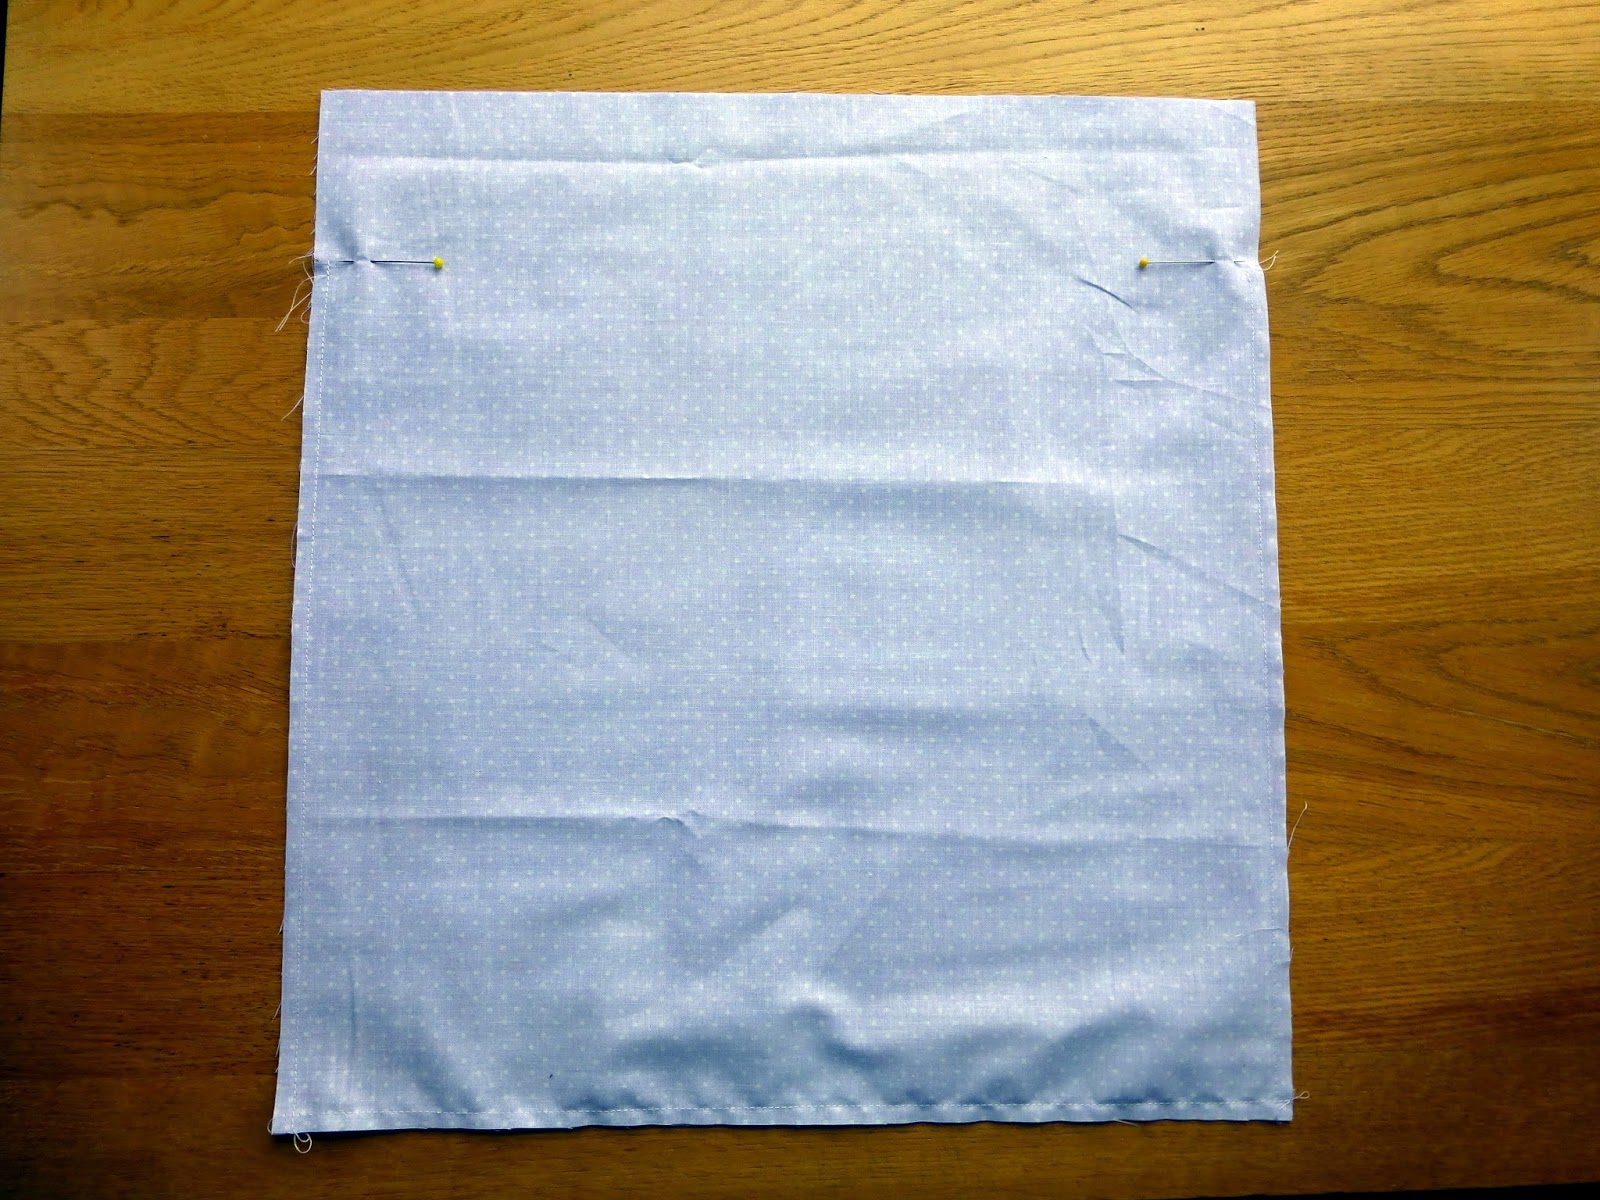
3. Repeat steps 1-2 for the outer bag (do not leave a gap in the bottom edge).

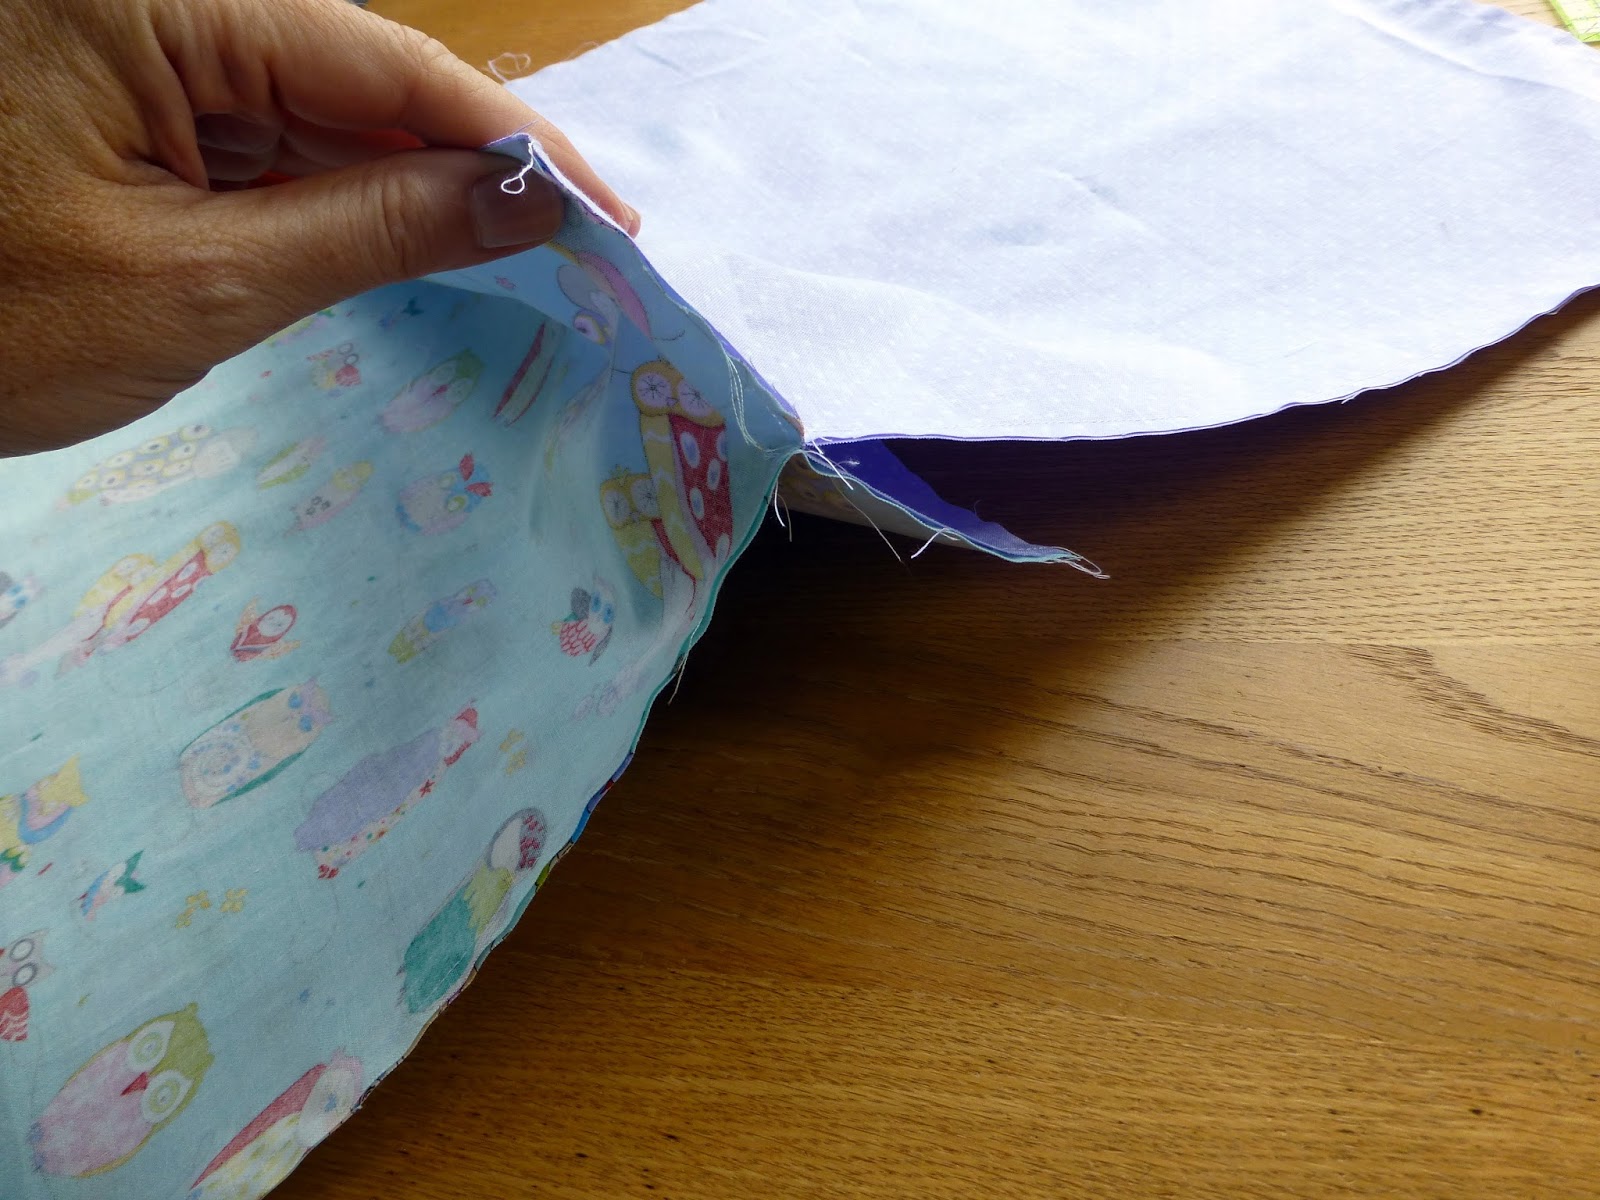
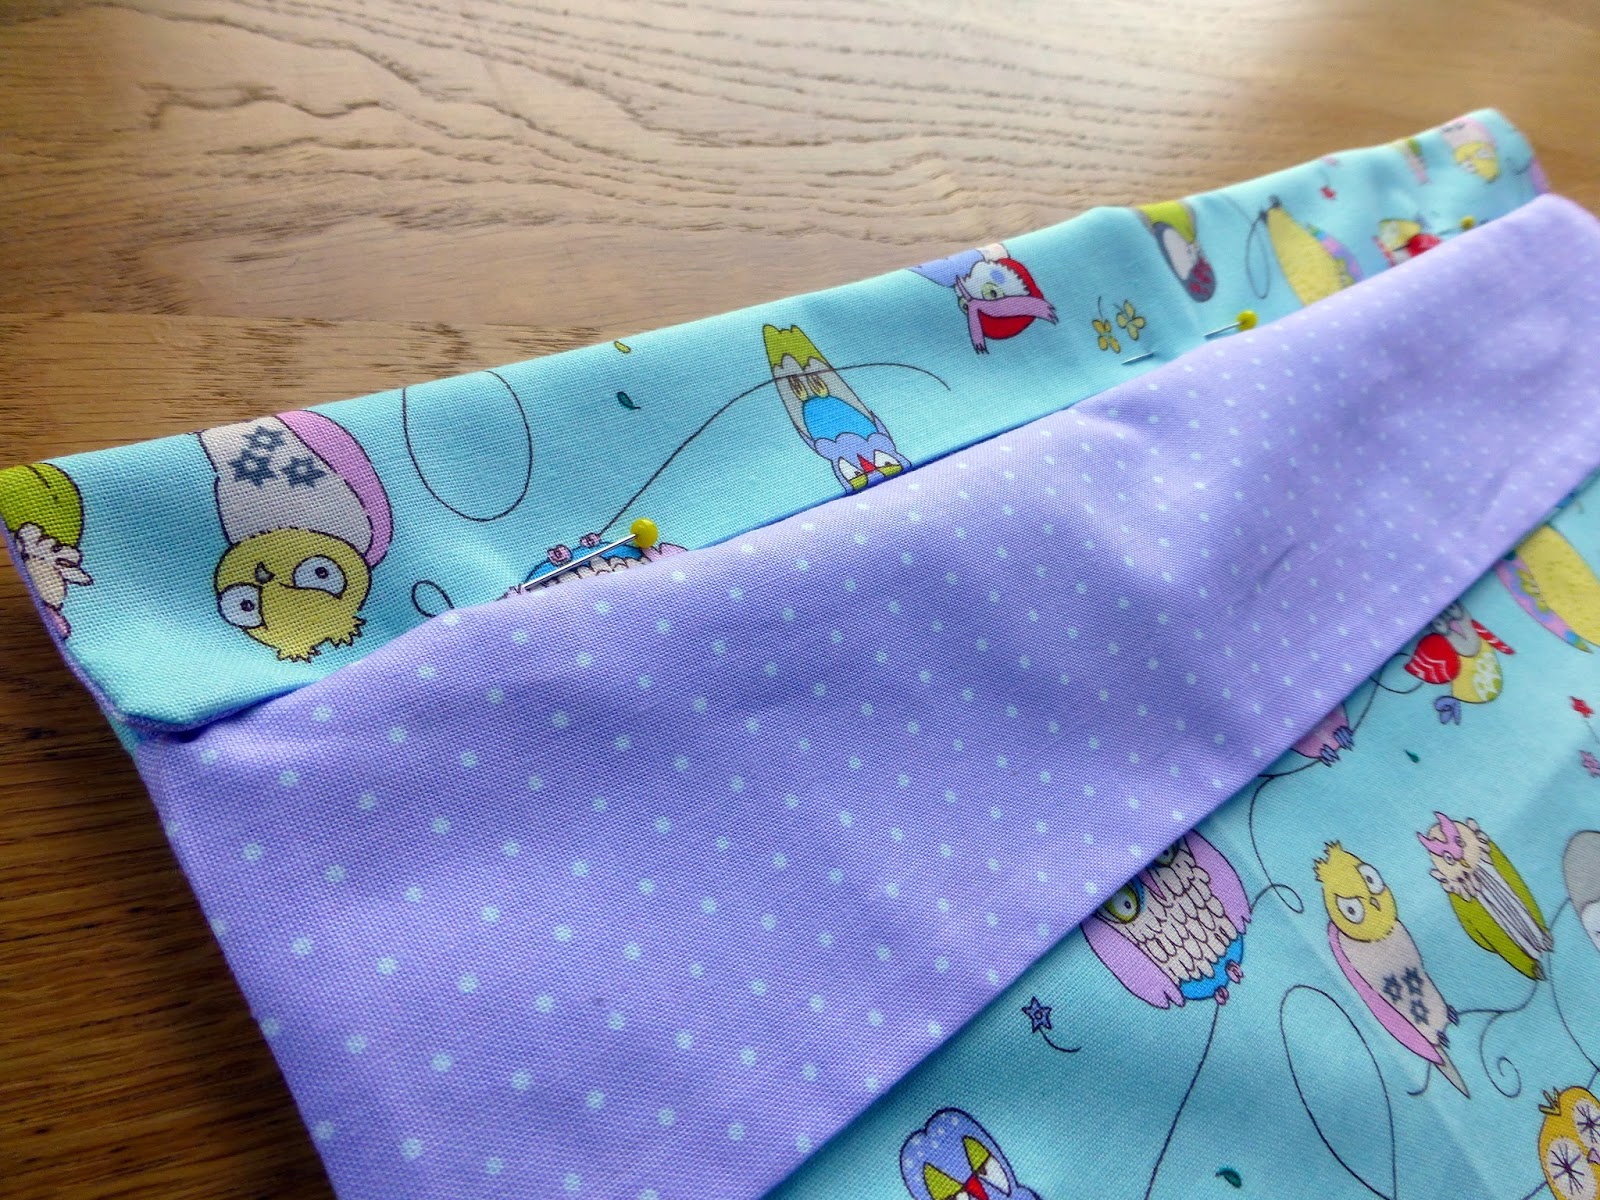
4. Pin a lining top edge right sides together with the top edge of an outer flap (the other 2 flaps will be hidden inside).
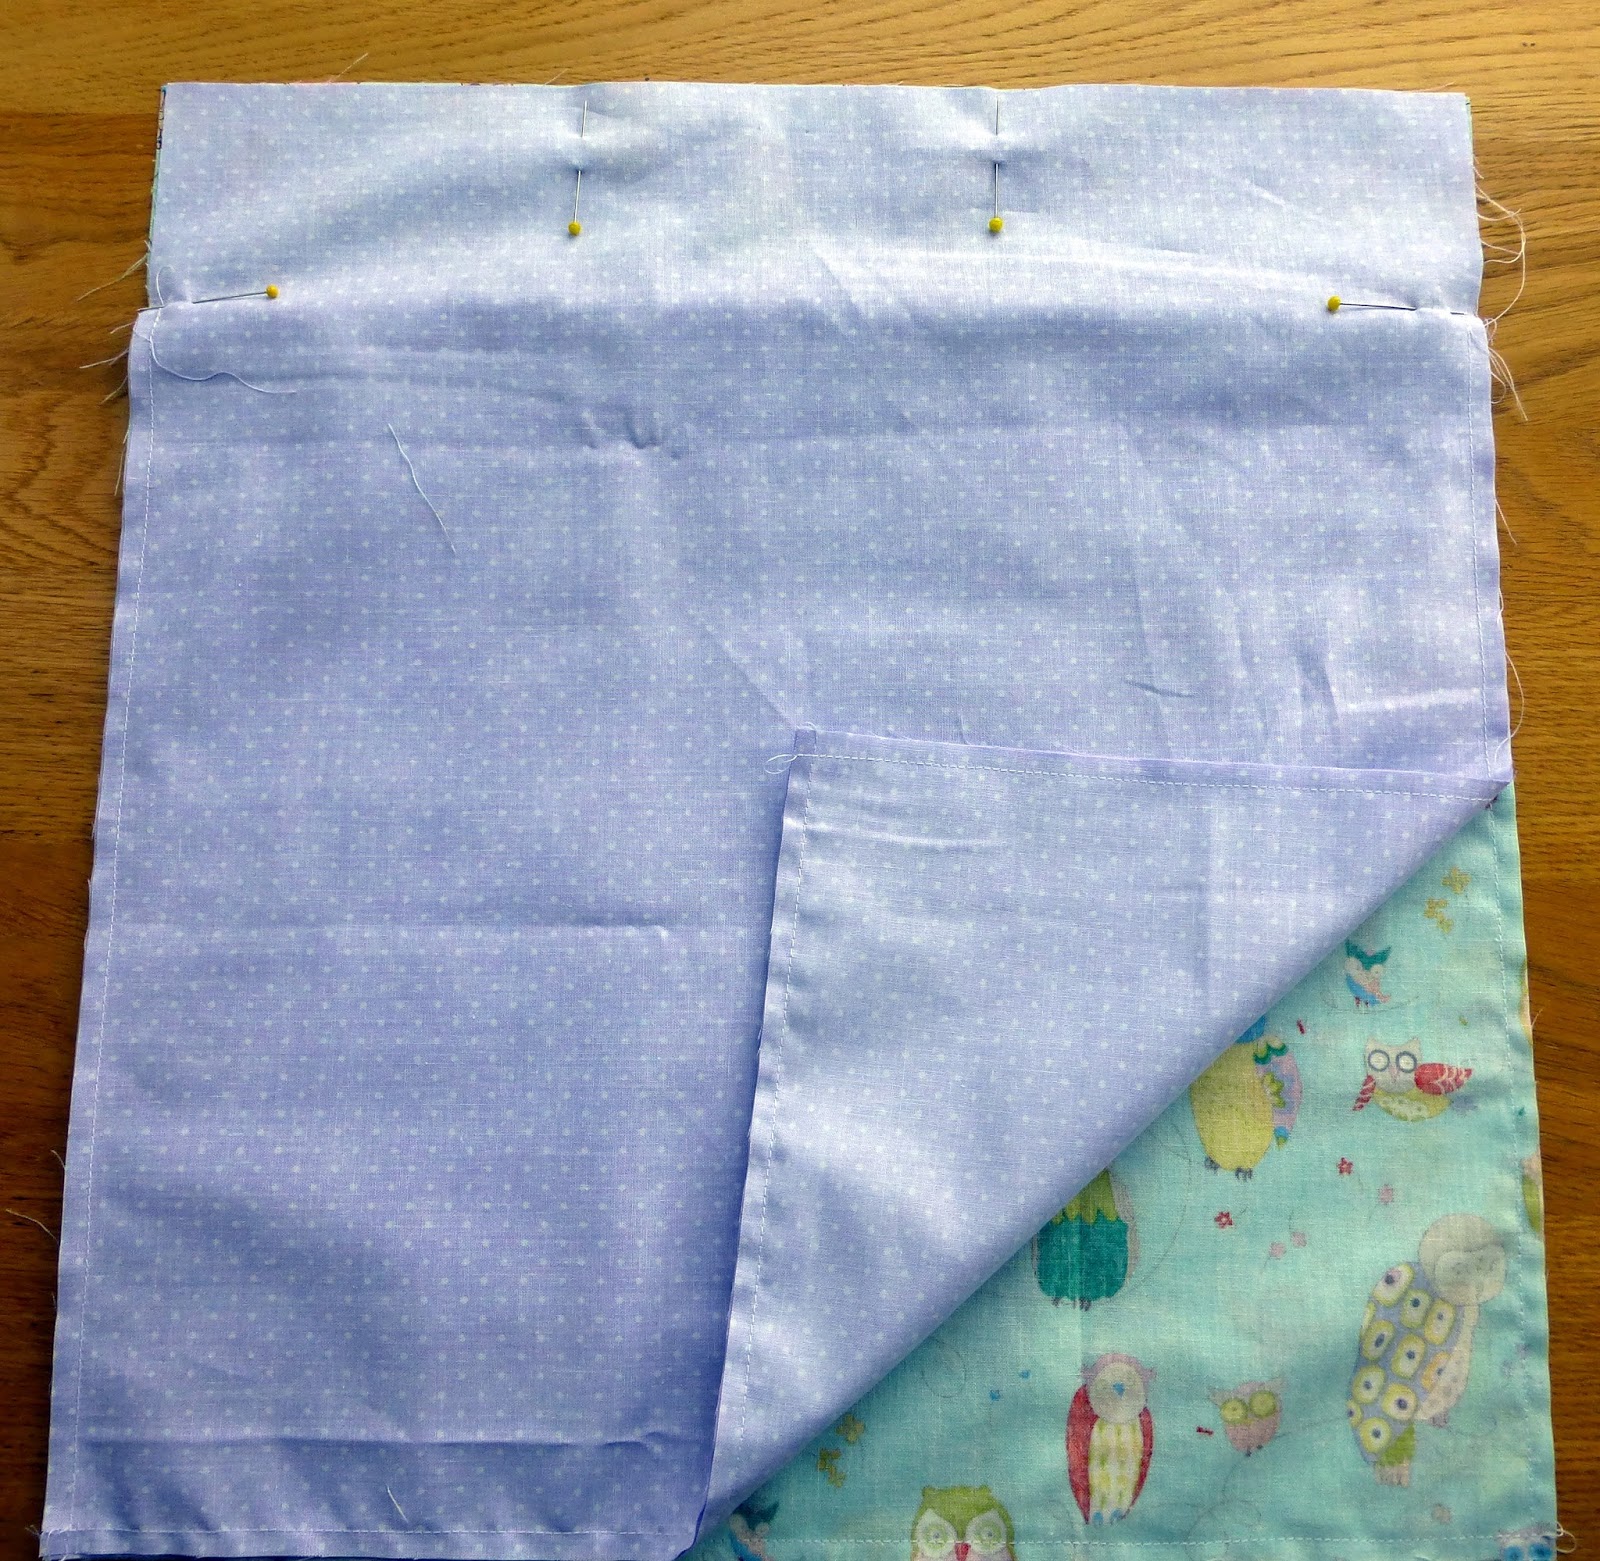
5. Make sure the folded flaps inside are aligned & pinned as shown.
6. Sew from side pin to side pin, closing the open top edge. Use a reverse stitch to start and finish.
7. Repeat for the other flap. You should now have 2 linings together, 2 outers together, and 2 flaps in between.
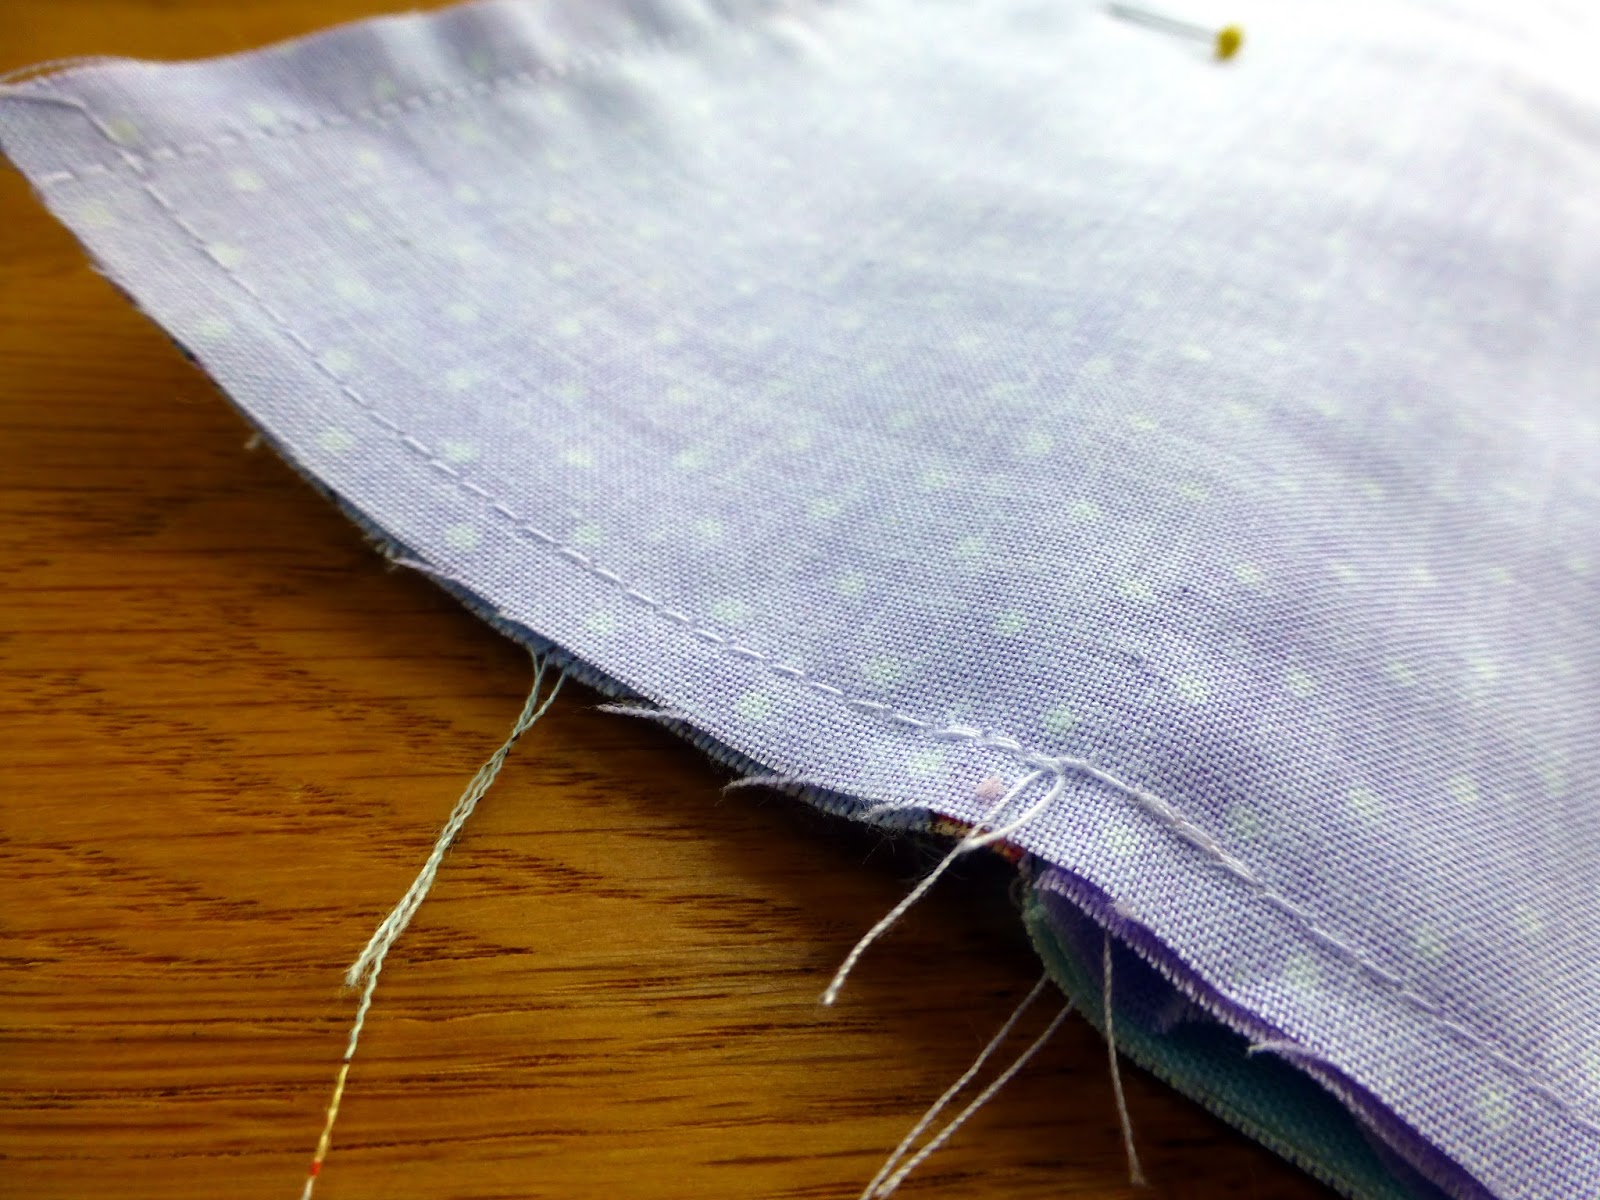
8. Turn the bag through the gap in the lining. Hand or machine stitch the gap closed before pressing the bag.
9. Fold one flap down in towards the inside, pin and sew close to the edge to create a channel.
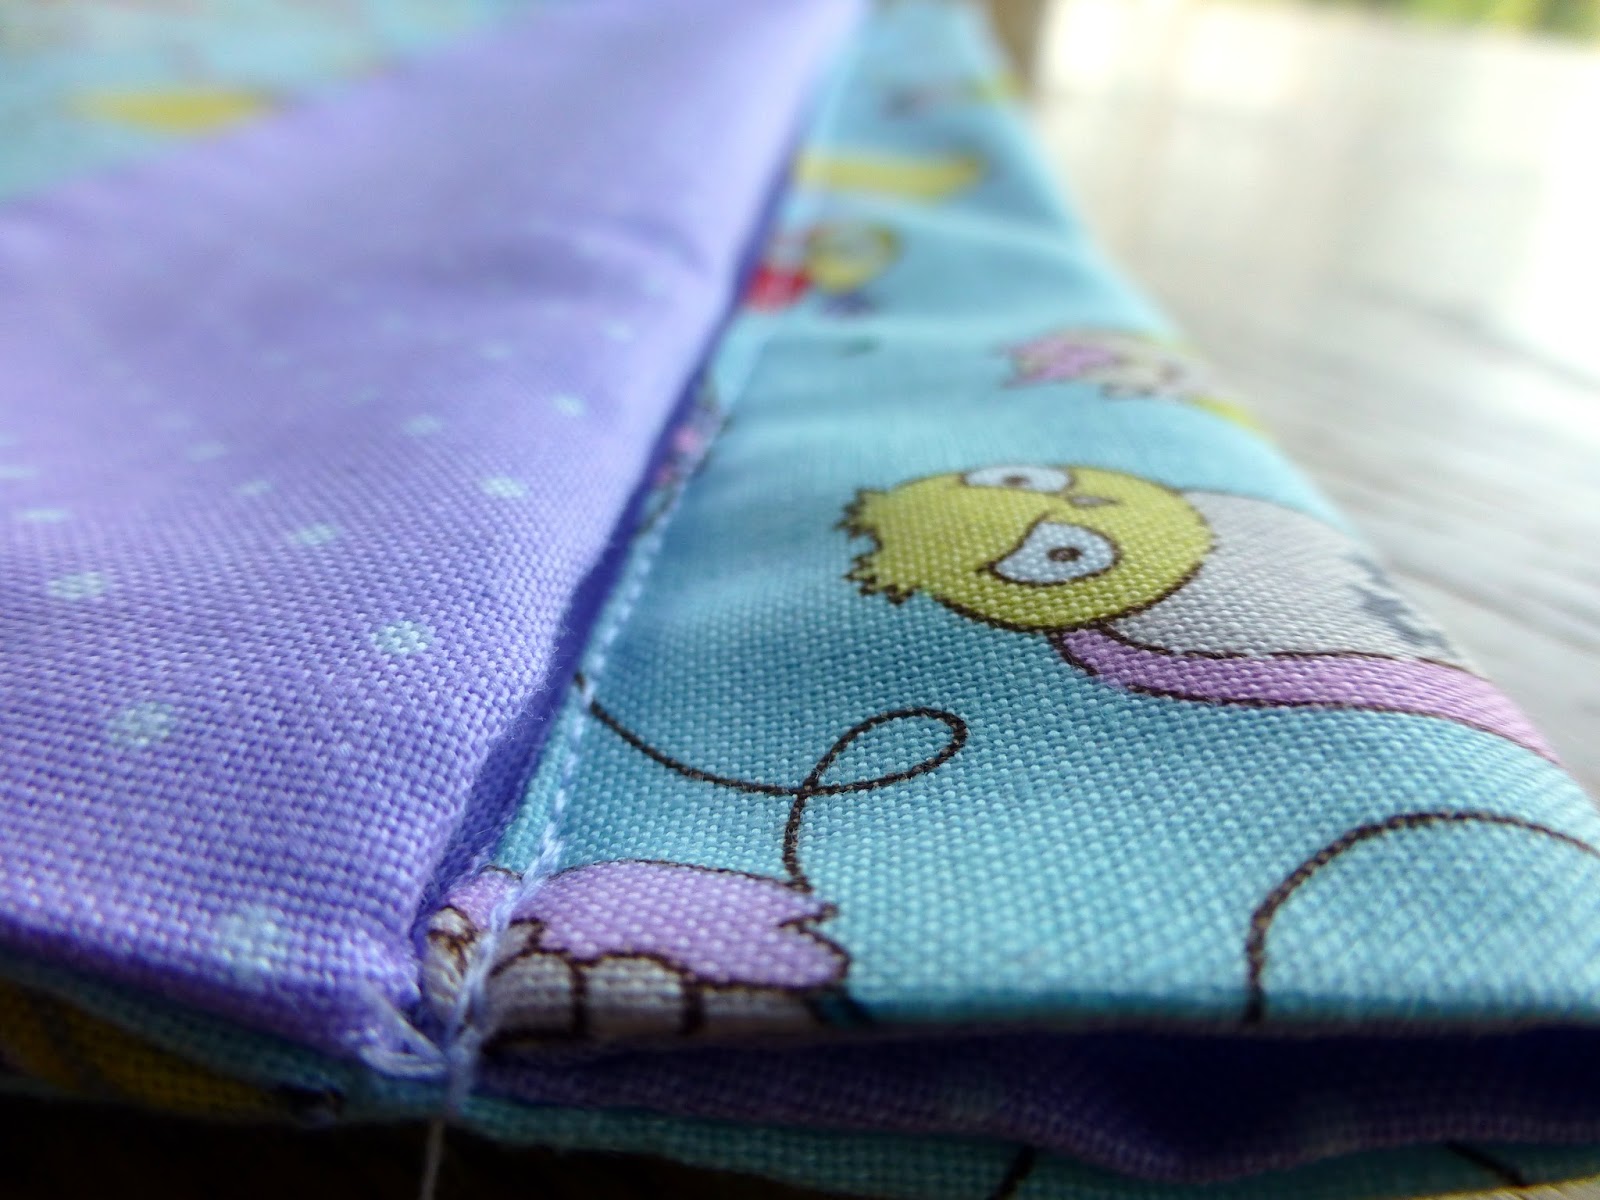
10. Repeat for the other flap.

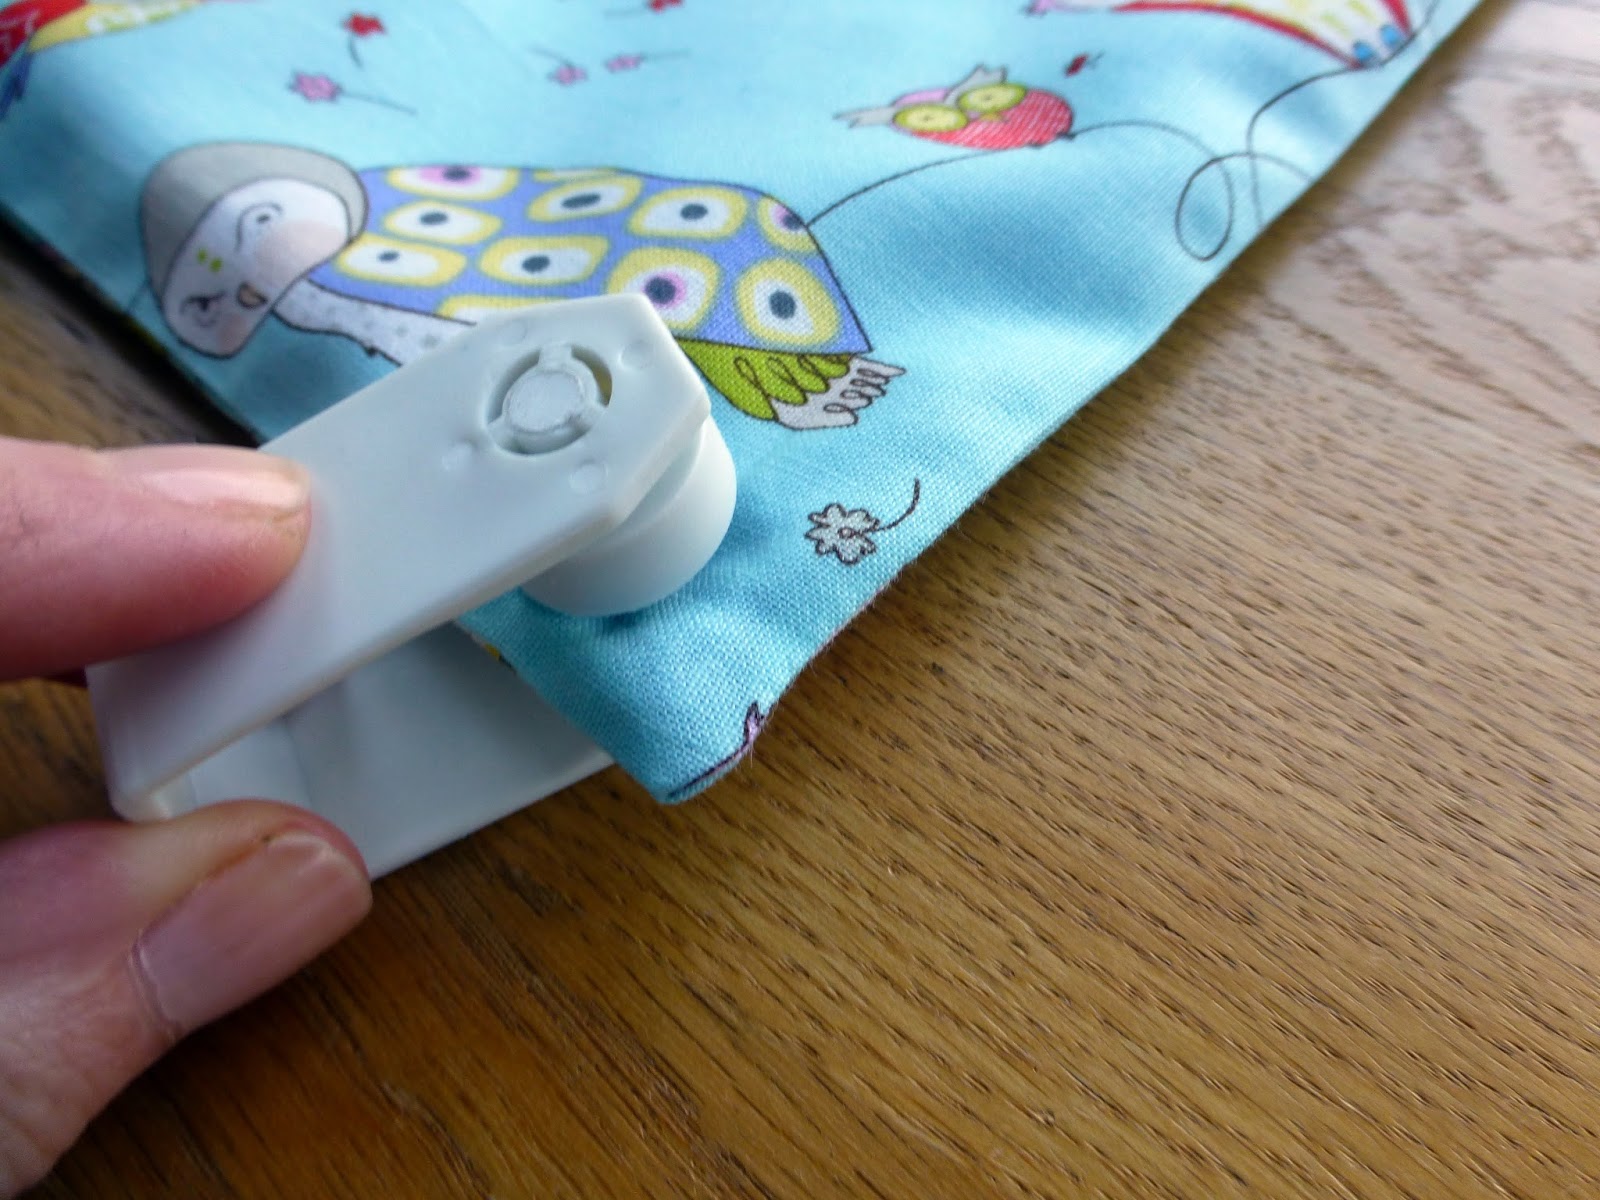
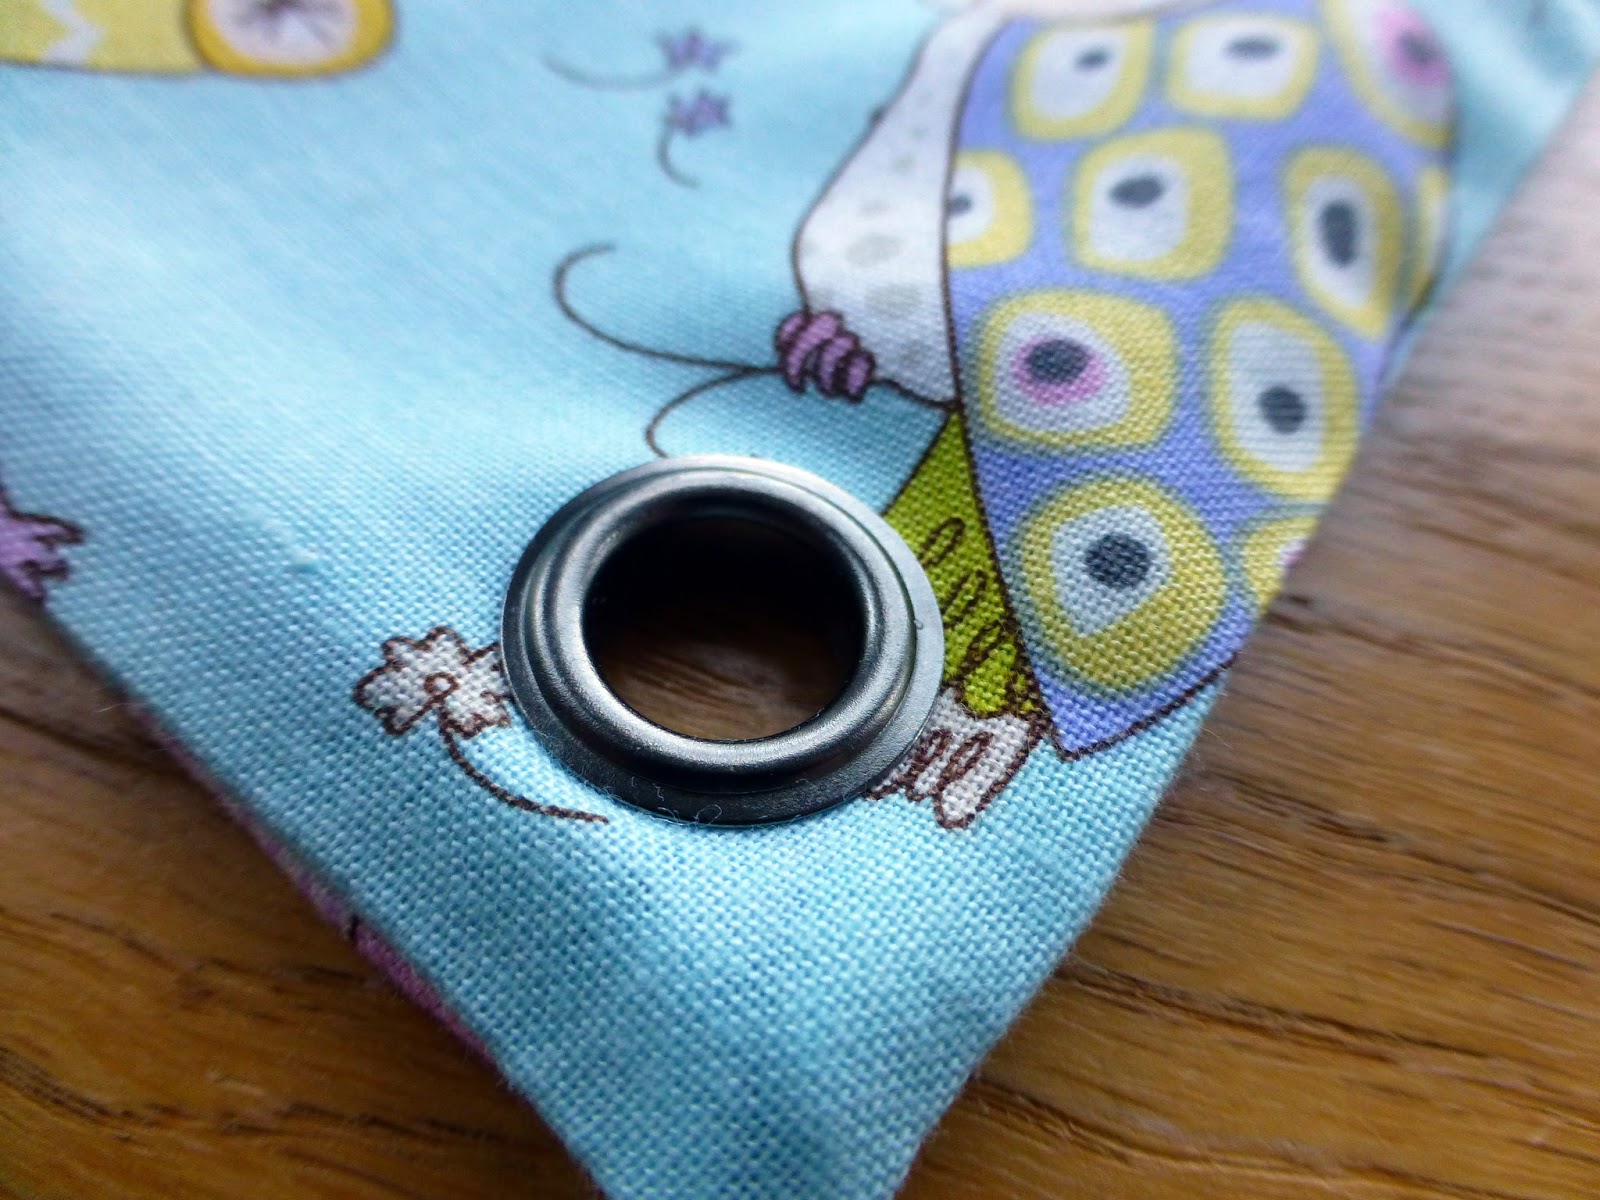
11. Use the eyelet tool to insert eyelets in both bottom corners, through all layers.
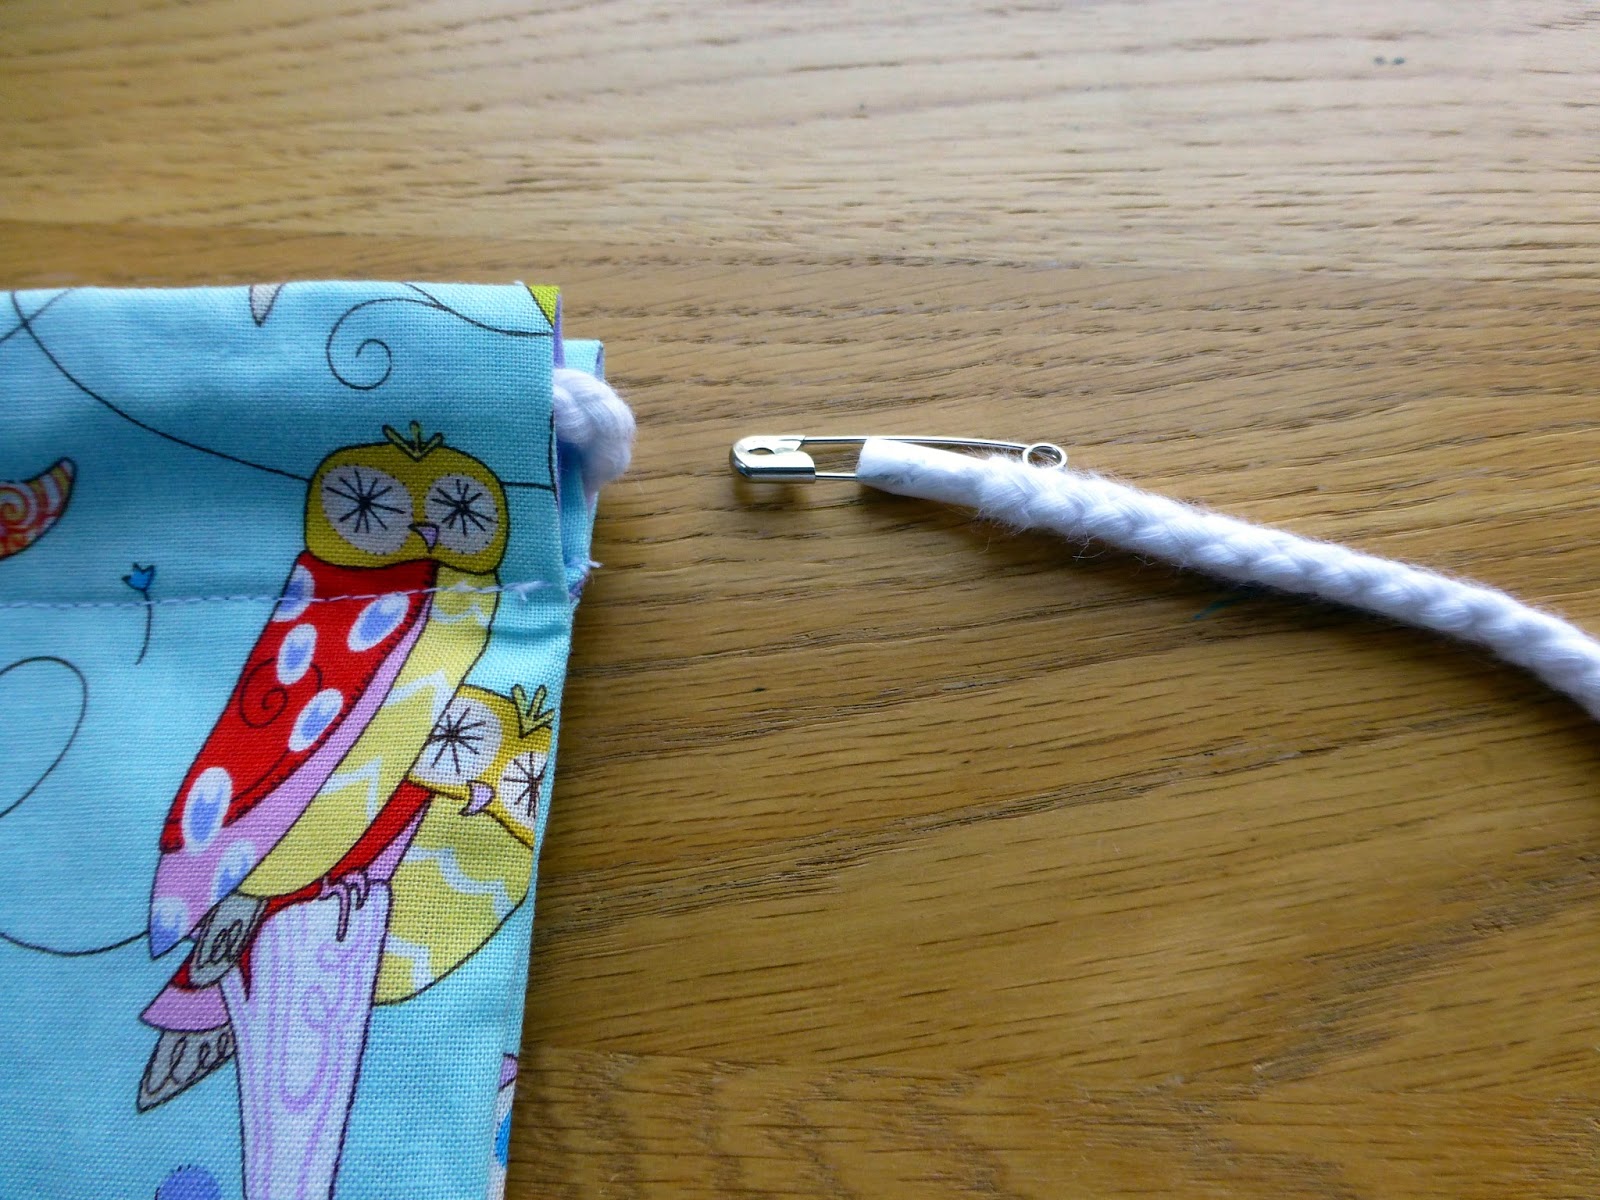
12. Thread one of the cords through one side of the channel, right round until it comes out the same side again (you may find it helpful to attach a safety pin to the end of the cord to do this).
13. Bring both ends of the cord through the eyelet and tie a knot.

14. Repeat for the other piece of cord, this time threading it from the opposite side.
15. The bag is complete!
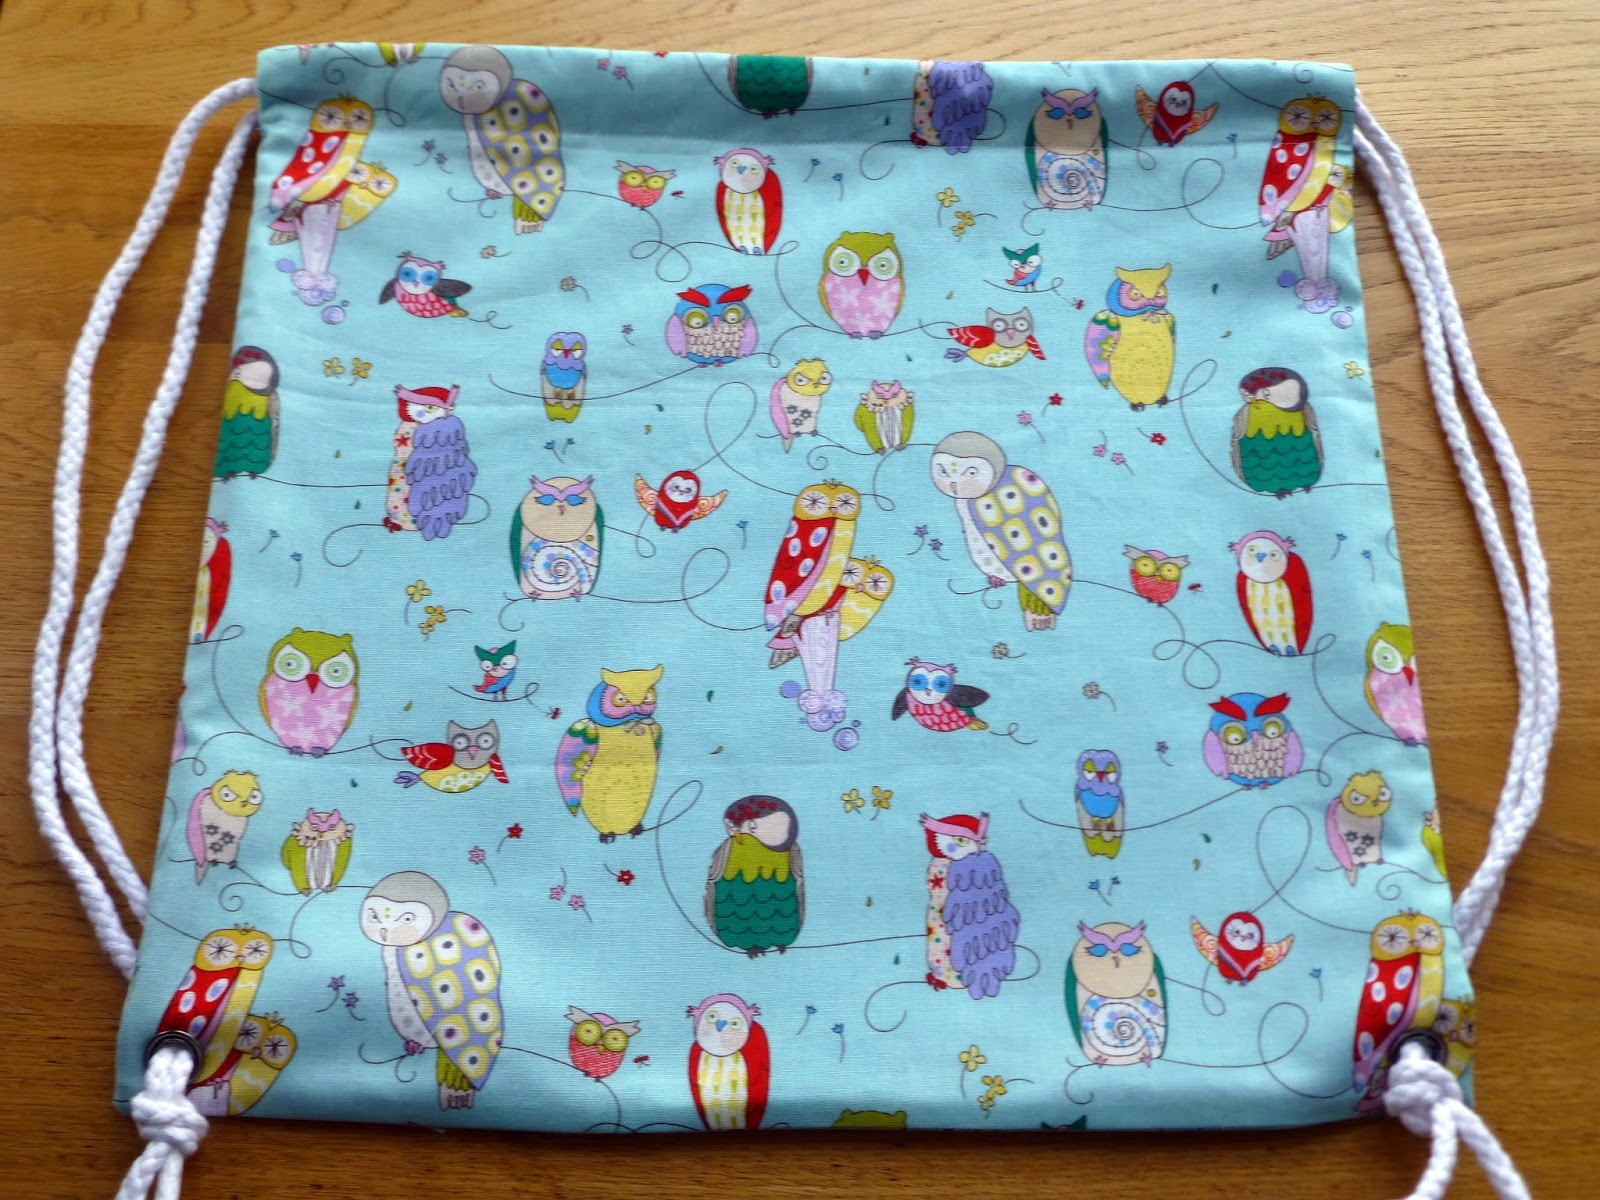
Fill with art supplies and enjoy!
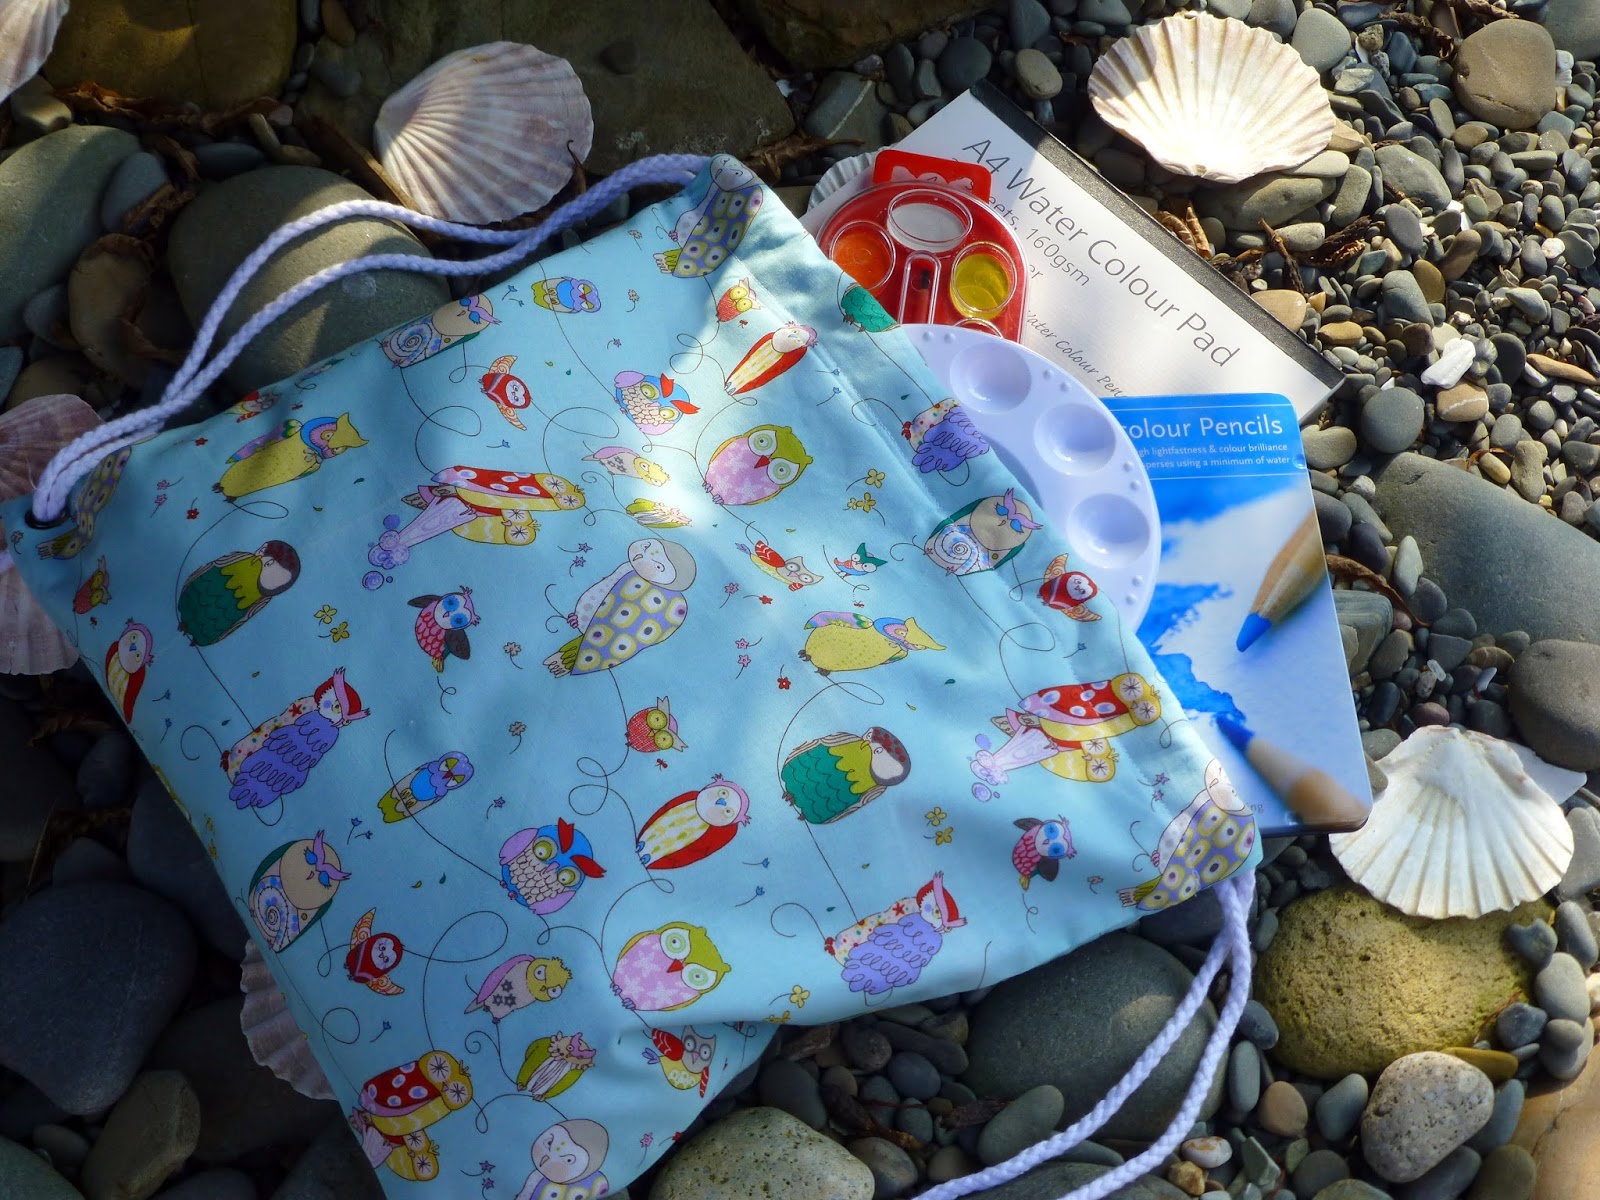
And better still, make an art supplies bag from fabric you can colour in!!
Jude xo