Come have a go at making a perfect little Pixelated Heart Mini Quilt using this step-by-step tutorial from Judith at Just Jude Designs!
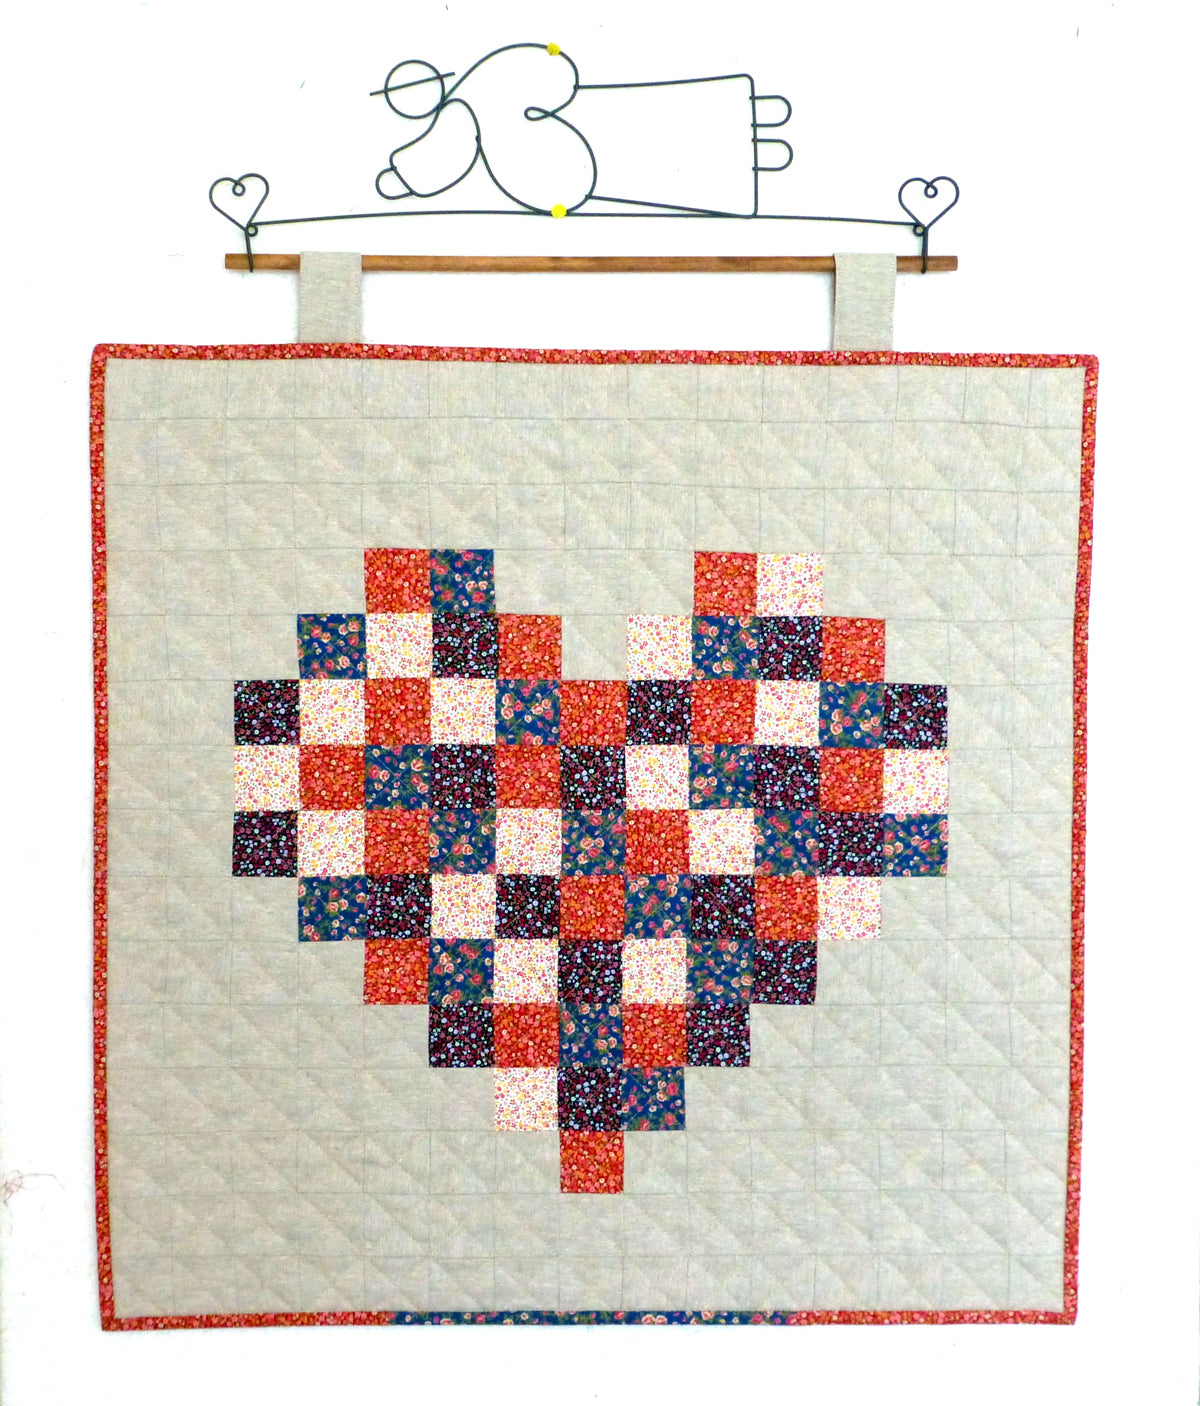
Pixelated Heart Mini Quilt (approx. 22.5” x 22.5”)

You will need:
4 fat eighths for the heart (We used Sevenberry floral prints)
0.5m of Essex Natural Linen Blend for the background squares & hanging tabs
0.5m fabric for backing
1 long fq of binding fabric
Piece of compressed wadding 25” x 25”
20” Wire quilt hanger
Cut out:
From the ‘heart’ fabrics, cut total 70 x 2” squares
From the background fabric cut 154 x 2” squares & 2 x (16" x 2") strips for the hanging tabs (makes 2)
Piece your backing fabric until you have a 25” square.
Method: Assume ¼” seams throughout unless advised otherwise
1. On a table or design board, layout the background & heart squares according to the grid shown (please assume that that naughty white background square is beige - it refuses to be coloured in!).


2. Sew the squares together in rows. Press the seams of each row in opposite directions to the next row i.e. all odd numbered rows in one direction, all even numbered rows in the opposite direction.

3. To sew the rows together, butt/nest the intersecting seams together as you sew down each pair of rows. (You can take the time to pin each intersecting seam, or nest them together as you sew each one).
4. When all the rows are joined together, press the seams in one direction.


5. Spray baste the quilt top to the wadding, and the backing fabric to the other side of the wadding.
6. Quilt in a two-way diagonal pattern, working from the central diagonal out towards the outer edges. Trim off the excess wadding and backing.


7. Make the binding by cutting 2.5” strips wof. Join the strips together (straight edge join (1/4” seam) if using striped fabric; mitre join* for all other fabrics).
*Mitre joined binding: Place first strip horizontally on the table, right side up. Lay the 2nd strip at right angles on the end of the first strip, right side down. Draw a line from corner to corner. Pin and sew on this line before trimming away the excess fabric. Press the seam open.


8. Continue attaching all the strips in this way until they are all joined together. Press the binding in half lengthways, wrong sides together.

9. Attach the binding – use 3/8” seam allowance. Start at the bottom edge, align raw edges of binding to raw edges of quilt and leave approx. 8” unsewn. Then start sewing through all layers, stopping 3/8” short of the first corner.

10. Lift the needle up and gently turn the quilt 90 degrees anti-clockwise. You can either snip off the thread or keep it attached, whatever is easiest.
Flip the binding strip up & away from you, keeping it in line with the outer edge of the quilt. You should have created a 45 degree fold in the corner.


11. Finger press this and carefully bring the binding strip back down so that it is at right angles again with the top and side edges of the quilt corner. You shouldn’t be able to see the hidden mitre fold from the front.
12. Return the quilt under the needle and resume sewing from the new top edge of the binding.

13. Continue in this way until all 4 corners are sewn. Stop at least 5” short from where the binding started and take the quilt out from the machine.
14. To mitre join the binding ends, lay the quilt flat on a table and lay the left hand strip over the top of the right hand strip. Measure 2 3/8” along the top strip for a mitre join (0.5” for a straight edge join), from where the underneath strip ends and mark the binding with a chalk line. Cut along this line, removing the excess binding.


15. Now mitre join (or straight edge join if using a 0.5” overhang) the 2 strips in the same way as before (see step 7). In this instance there is no need to iron the seam open after trimming the excess, simply finger press it open.


16. When you open out the quilt, the unsewn part of the binding should now fit exactly the remaining unsewn length of the quilt. Return to your machine and complete the attaching of the binding, starting and ending with a reverse stitch.

17. Gently press the binding up so that it folds fully over to the back, covering the stitching line. Hand or machine sew down the binding.
18. Make the hanging tabs: Sew 2 strips right sides together across both short ends and one long side. Turn right side out, cut in half widthways and press under the new short sides and the remaining open long edges.


19. Sew around all for sides on both tabs, close to the outer edges.

20. Fold over the tabs and pin in position to the back of the quilt, making sure the closed ends of the tab is just past the binding.

21. Attach the tabs by stitching in the ditch of the binding from the front side.

22. Attach quilt to hanger and display!


Jude xo