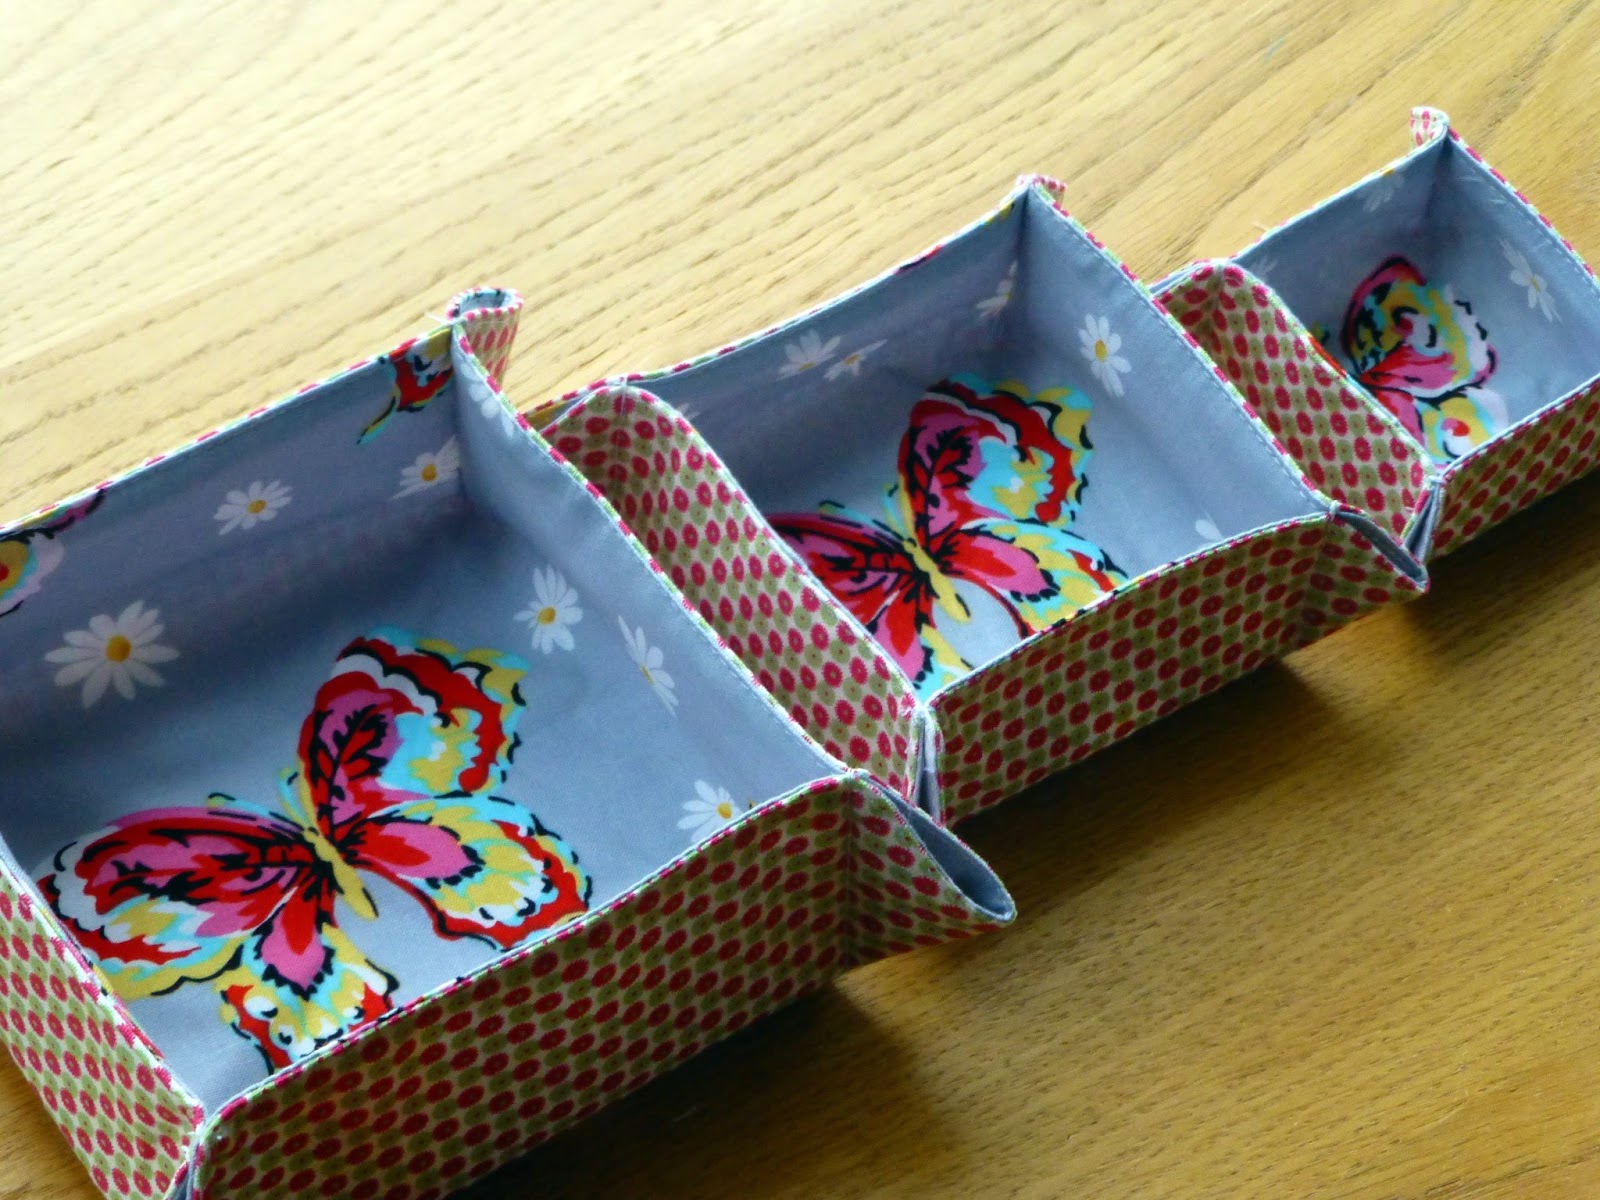
Judith from Just Jude Designs has shared with us these beautiful Nesting Boxes which are perfect for storing and displaying jewellery, nail polish, hair bobbles, and nicknacks!


Finished size approx. 5.5" square (large); 4" square (medium); 3" square (small)
You will need:
1 fat quarter fabric (outer). How about a pretty floral print?
1 fat quarter fabric (lining)
1 fat quarter heavy sew-in vilene/interfacing
Nesting Boxes template (free download from my Craftsy store here). Make sure to de-select 'fit to page' in your printer settings.
Method:
Assume 1/4" seams throughout unless advised otherwise.
1. Using the free template, cut out 1 from outer fabric, 1 from lining fabric and 1 from vilene/interfacing for each size.

2. Layer the 3 fabrics on top of one another, vilene, then outer (right side up) then lining (right side down).

3. Sew around all sides, leaving a gap in the middle of a long side.

4. Turn right side out and press well. Press under the opening.

5. Sew around all edges using an 1/8" seam allowance, closing the gap as you go.

6. With linings together, bring adjacent sides level (see top edge below) to create a corner. Chalk & sew a line vertically from the start of the corner, using a reverse stitch to start and finish.

7. Repeat for all 4 corners and voila - you have a box!

And when you have all 3 sizes made, fill them up to keep all those dressing table essentials tidy!

Happy Sewing!
Jude xo