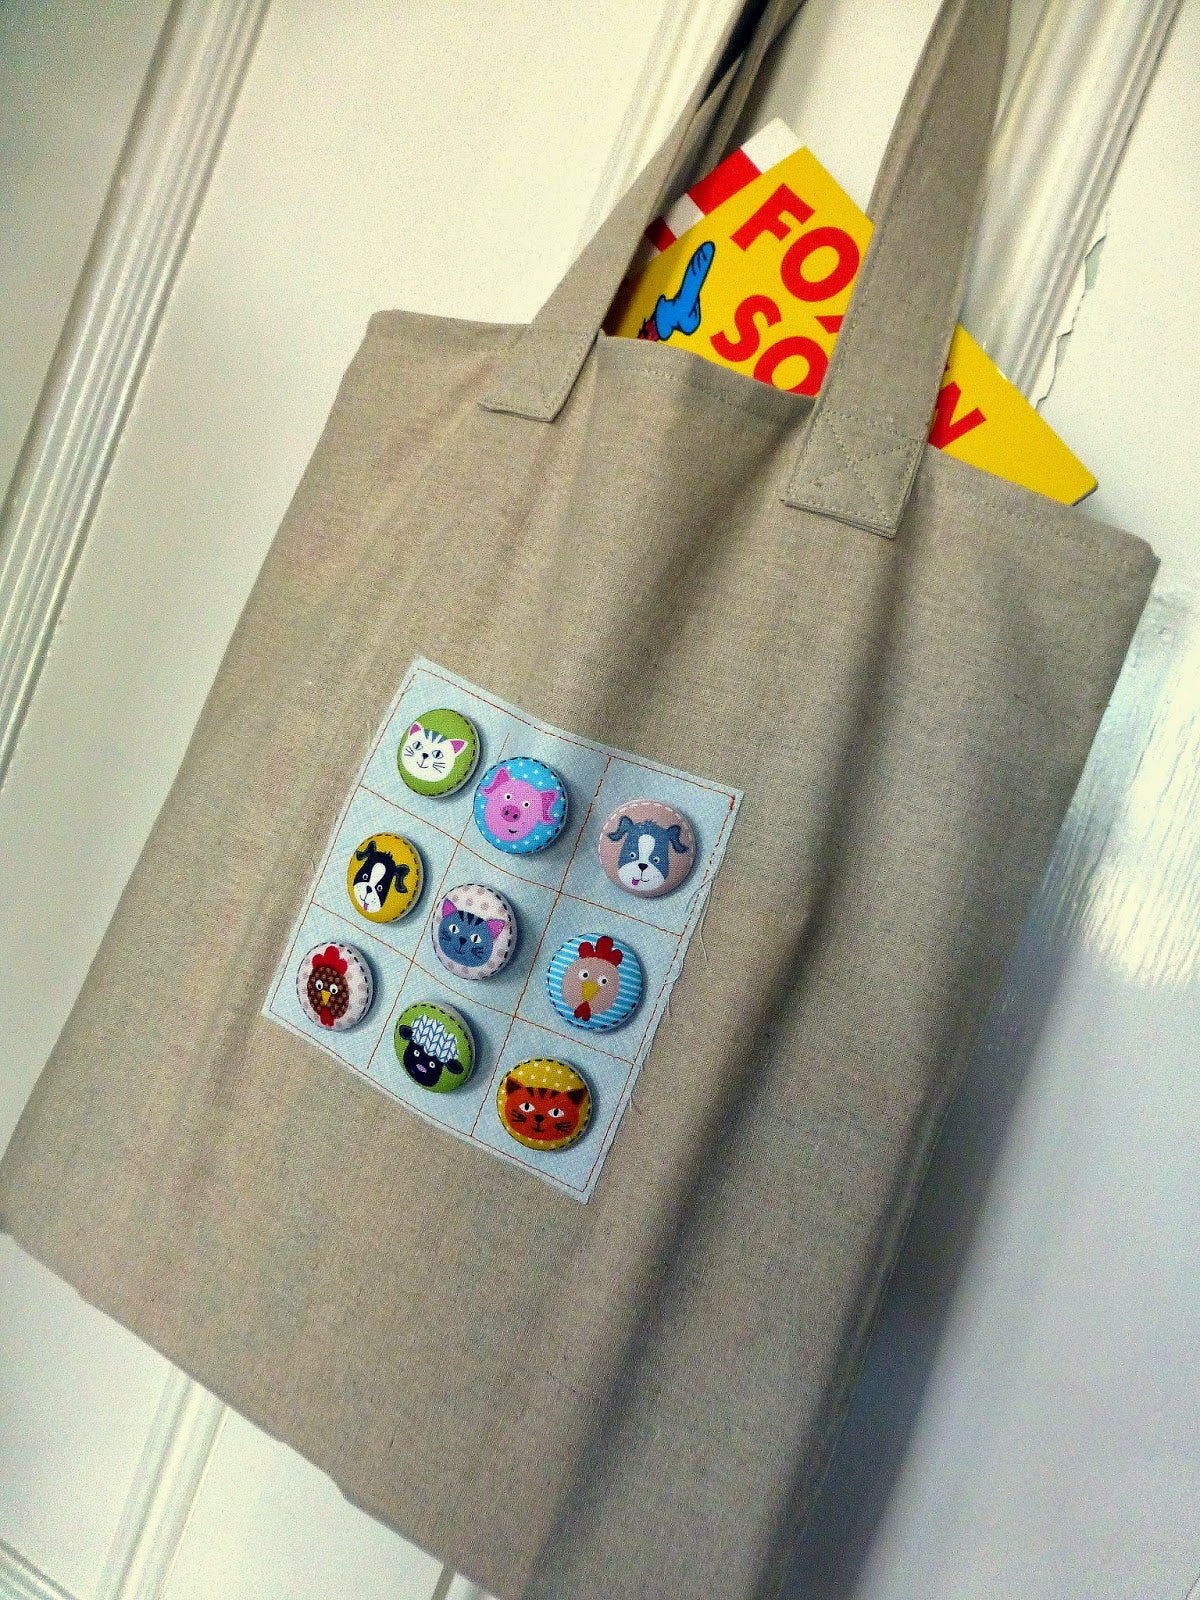
Button Book Bag
Yet again Judith from Just Jude Designs has shared one of her lovely designs with us. Here she takes you through step-by-step how to create this beautiful book bag thats just a little different from the norm.

You will need:
0.5m Essex Natural Fabric
18 x 28mm self covered buttons and fabric for covering buttons (I used Makower Jolly Heads)
2 x 5" squares of contrasting fabric & bondaweb for the square the buttons are placed on.
Thread
Method: Assume 1/4" seams unless advised otherwise
The tutorial on how to make self-covered buttons is here.
1. From the linen cut a 5.5" strip width of fabric, and then cut in half widthways to create 2 handle pieces. Put these to one side.
2. Trim the remaining linen to a piece that measures 14.4" x 32". Keep it folded, wrong sides together.
3. Iron the bondaweb squares onto the wrong sides of the 5" squares. When cooled peel off the paper. Find the middle of the front of the bag and iron down a 5" square. Repeat for the middle of the back of the bag.


4. Top stitch around the edge of the 5" squares, through the linen.

5. Chalk a grid onto the 5" squares and sew on the chalk lines in contrasting thread. Sew a self covered button into each square.


6. Making french seams: Keeping the bag folded with wrong sides together, sew down both sides. Trim away 1/8" from each side seam before turning inside out.


7. Press the sides of the bag and once more sew down both sides. Turn the bag right side out - the french seams will be on the inside. Press the sides.


8. Iron the top edge down by 0.5", towards the inside, and then again by another 0.5". Pin and sew around the top edge.


9. Make the handles. Iron the handles in half lengthways, wrong sides together. Open out and iron up both long sides to meet at the centre crease. Fold in half once more and press. Turn under both short ends by 0.5" and press (you may need to open out the handle slightly to do this).


10. Top stitch around all 4 sides of the handle, keeping quite close to the edges.

11. Pin the handles onto the front of the bag, 3" in from the side seams, and take care not to get a twist in the handle.

12. Attach the handles to the bag by sewing a box with an X inside it.


And you're done! All you have to do now is get the little ones down to the library and fill up with books!

Happy reading!
Jude xo