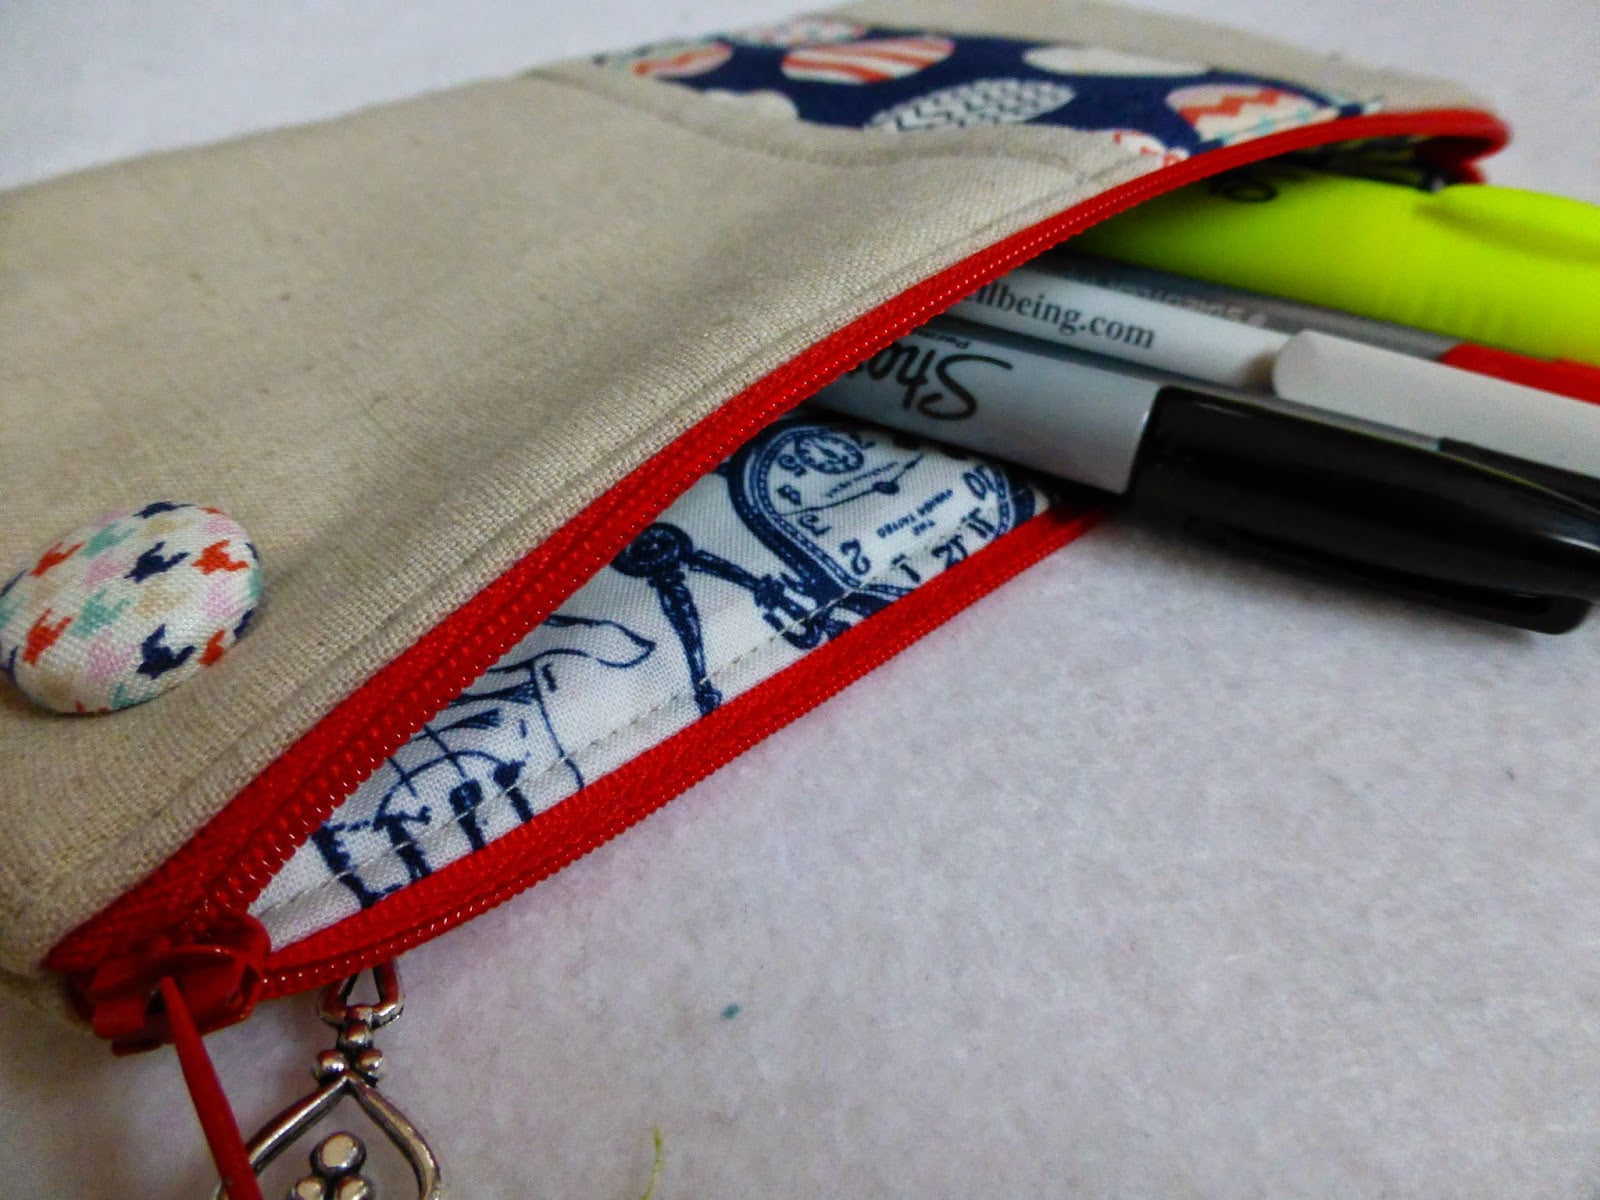
Judith from the Just Jude Blog has created another lovely tutorial. This time, a useful pencil case / zippy pouch - just in time for a little homemade Christmas present!
Pretty Pencil Case Tutorial
You will need:
2 x (2.5" x 5.5") main fabric (Essex Natural Cotton Linen Blend available here)
2 x (5" x 5.5") main fabric
2 x (2.5" x 5.5") contrast fabric (Selection of Trendsetter range available here)
2 x (5.5"x 9") lining fabric
2 x (5.5" x 9") compressed wadding
10" plastic zipper or longer
zipper foot
Assume 1/4" seams unless advised otherwise
Method:
1. Sew the contrasting strip in between 2 different sized pieces of main fabric. Your piece should now measure approx. 9" x 5.5". Layer with wadding and quilt as desired. Repeat for the back of the pouch.

2. Place the outer pouch right side up, before placing the zipper along the top edge, right side facing down. (If your zipper is longer, overhang the bulky zipper pull so you don't have to try and sew around it.) Finally pin the lining on top, right side facing down and aligned along the top and side edges.


3. Pop a zipper foot onto your machine and sew down the full length of the pouch, getting as close to the 'teeth' of the zipper as possible. (If you get to the bulky zipper pull part of the zipper, put your needle down into the fabric and lift the pressure foot up. Carefully glide the zipper pull out of the way. Put your pressure foot down and carry on sewing.)


4. Flip the lining fabric all the way over to the back, press and top stitch on the top close to the zipper. This will hold the lining in place on the back.


5. To attach the other side of the pouch, lay the other outer piece down, right side facing up. Next place the piece you've just sewn right sides down, again align the top and side edges. Finally, pin the lining piece on top, right side facing down. The 2 outer pieces should now be right sides together and the 2 linings should be right sides together.


6. Sew down the full length of the zipper and flip the lining back and repeat step 4.

7. Trim off any excess zipper, remembering to bring the zipper pull into the pouch first! Sew a few stitches along the bottom of the zipper to seal the ends (try not to sew into the lining fabric).


8. Pin the 2 outer pieces right sides together and pin the 2 lining pieces together, right sides together. Make sure you line up the top edges of the pouch where the zipper is attached.


9. Using your normal sewing foot, sew all the way around the pouch, leaving a 3" gap in the bottom of the lining fabric.

10. Turn the pouch right side out through the gap in the lining. Push the corners out well, as well as the zipper ends.

11. Either hand or machine stitch closed the gap in the lining. Give the pouch a good press and fill up with lots of goodies!


And now that you've got the hang of zippy pouches, why not make a few more!

 |
| 'Two in One Pouch' - pattern available here |

 |
| 'Kindle Cover' - pattern available here |
More zippy pouch patterns available here.
Jude xo